Learn how to make a No-Sew Pocket Owlwith this simple crochet tutorial! Perfect for beginners, it’s a quick and adorable project for gifting or keeping.
How to Crochet a No-Sew Pocket Owl
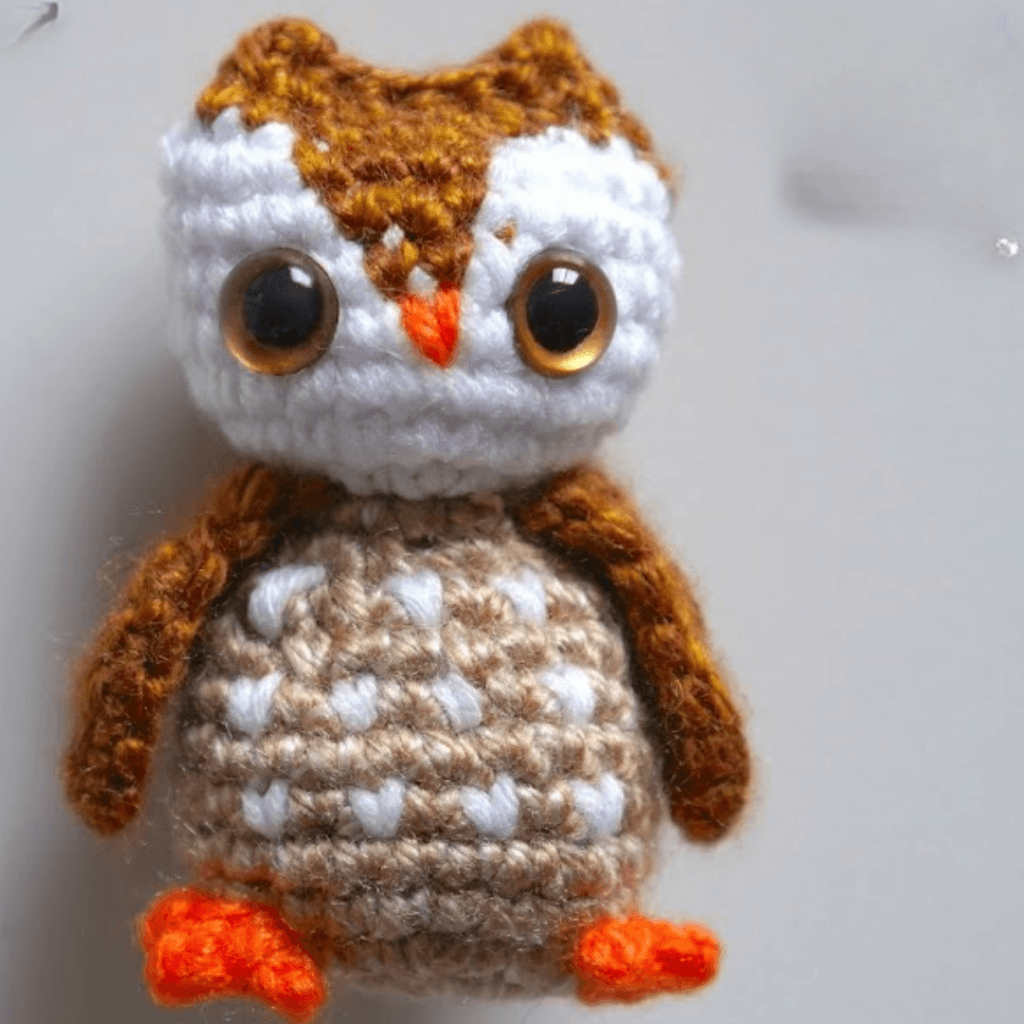
This No-Sew Pocket Owl Crochet Tutorialshows you how to create a cute, pocket-sized owl in just a few steps, without any sewing required.
With this No-Sew Pocket Owl Crochet Tutorial, you can make an adorable owl in no time. It’s a perfect handmade gift or fun project to add to your crochet collection!
Detailed Recipe No-Sew Pocket Owl
Materials Needed:
Yarn in two colors: one for the body and another for the belly (e.g., brown and white)
Crochet hook (4mm or size suitable for your yarn)
Safety eyes (or yarn for embroidery)
Yarn needle (for weaving ends)
Scissors
Fiberfill or stuffing material
Instructions:
1. Owl Body (Main Color):
Round 1: Create a magic ring with 6 SC.
Round 2: Increase in each stitch (12 SC).
Round 3: [1 SC, 1 increase] around (18 SC).
Round 4: [2 SC, 1 increase] around (24 SC).
Rounds 5-10: SC in each stitch around (maintain 24 SC).
Round 11: [2 SC, 1 decrease] around (18 SC).
Stuff the owl with fiberfill.
Round 12: [1 SC, 1 decrease] around (12 SC).
Round 13: Decrease in every stitch (6 SC).
Close the opening tightly and weave in the ends.
2. Owl Belly (Contrast Color):
Round 1: Create a magic ring with 6 SC.
Round 2: Increase in each stitch (12 SC).
Round 3: [1 SC, 1 increase] around (18 SC).
Finish off and leave a long tail to attach it.
3. Add the Features:
Attach the safety eyes or embroider eyes using black yarn.
Embroider a small triangle for the beak using a contrasting color (e.g., yellow or orange).
Using the tail from the belly piece, stitch it securely to the front of the owl’s body (if no-sew is desired, this can be omitted).
4. Ears and Finishing Touches:
Pinch the top edges of the owl’s body to form ears and secure the folds with yarn or glue.
Optional: Add tiny wings or decorative stitches for extra detail.