How to Crochet Easter Eggs. Looking for a fun and festive project? Learn how to crochet Easter eggs with this simple pattern! These colorful eggs are perfect for Easter decorations or gifts. Creating crochet Easter eggs is one of those projects that feels both nostalgic and wonderfully calming, especially when you’ve been crocheting for years and learn to truly enjoy the beauty of simple shapes. There’s something so special about taking a basic oval form and turning it into something decorative, colorful, and full of seasonal charm. Even now, I still find myself coming back to this project whenever I want something relaxing, creative, and just a little bit joyful.
I usually begin with a magic ring, working in continuous rounds to build the base of the egg. This part is all about shaping, and I pay close attention to my increases in the early rounds to create that smooth, rounded bottom. Using a smaller hook than recommended helps keep the stitches tight and neat, which is especially important for amigurumi-style pieces like this. As I work, I focus on maintaining even tension, because with such a simple shape, any inconsistency can really stand out.
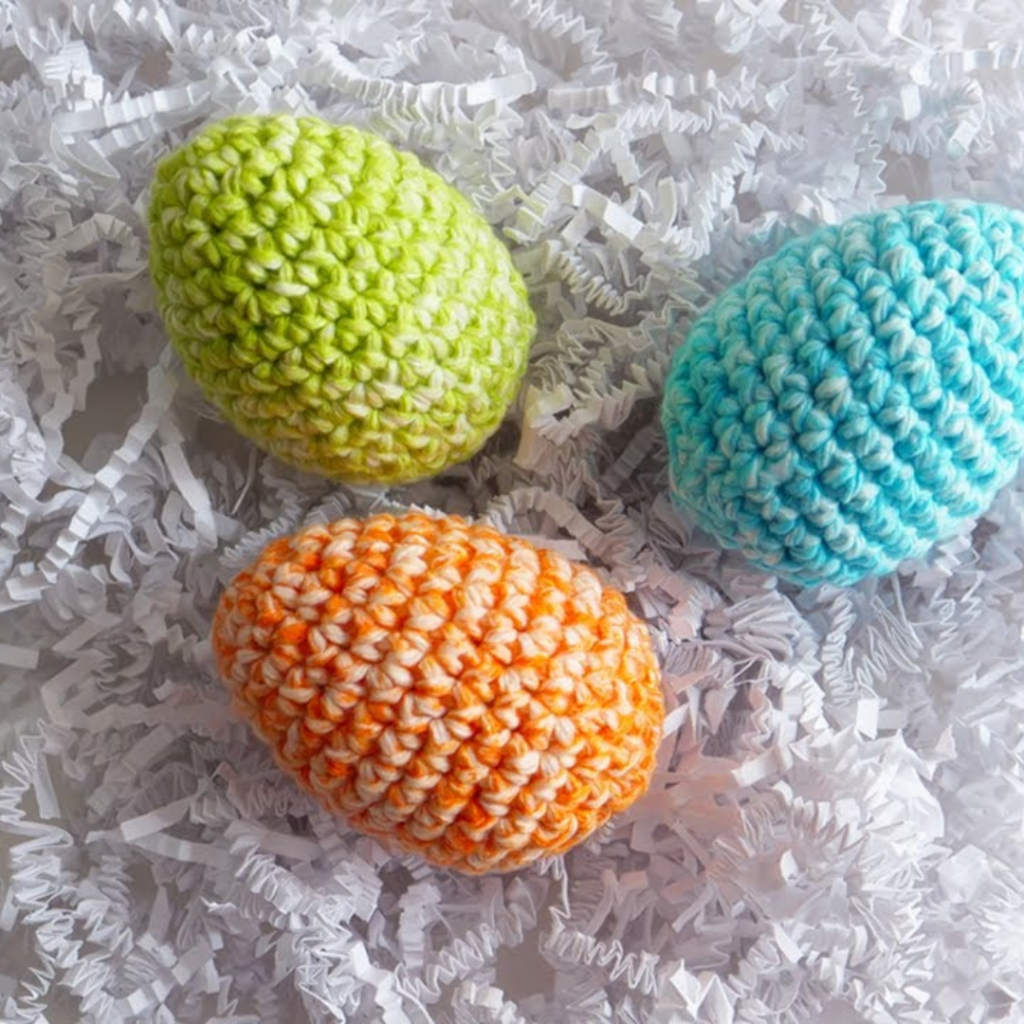
Step-by-Step Guide on How to Crochet Easter Eggs
How to Crochet Easter Eggs. Crocheting Easter eggs is a quick and enjoyable project, perfect for using leftover yarn. You can customize the colors and patterns to match your holiday theme. Now that you’ve learned how to crochet Easter eggs, you can create beautiful handmade decorations for Easter! Try different colors and patterns for a unique touch.
As the egg begins to form, I gradually reduce the number of increases and start working straight rounds to build the body. This is where the rhythm of crochet really takes over. Stitch after stitch, the shape grows in your hands, and it becomes almost meditative. I always take my time here, making sure the sides are smooth and even, without any awkward bumps or uneven tension.
Choosing yarn for Easter eggs is one of the most enjoyable parts of the process. This is where creativity really shines. I love using bright, cheerful colors like soft pinks, yellows, mint greens, and baby blues, but sometimes I’ll mix in more muted or earthy tones for a different look. Cotton yarn is usually my first choice because it gives such beautiful stitch definition and holds the shape well, but a soft acrylic blend can also work nicely if you want something a bit lighter.
How to Crochet Easter Eggs – Free Pattern
One of the things I’ve learned over time is that color changes can completely transform these little eggs. Simple stripes, blocks of color, or even subtle speckled effects can add so much personality. I always take care when changing colors, making sure the transitions are as clean as possible. It’s a small detail, but it makes the finished piece look much more polished.
As I near the top of the egg, I begin the decreases, carefully shaping the curve so it closes neatly. Before the opening gets too small, I add the stuffing. This is a step I never rush, even for something as simple as an egg. I use small amounts of fiberfill, adding it gradually and shaping the piece with my hands to keep it smooth and evenly filled. The goal is to create a firm but slightly soft egg that holds its shape without feeling too stiff.
Once the egg is fully closed, I take a moment to adjust the shape, gently rolling it between my hands to smooth out any uneven areas. This is one of those small finishing habits that really makes a difference. A well-shaped egg looks clean and balanced, and it gives the whole project a more refined feel.
What I love most about crochet Easter eggs is how versatile they are. You can keep them simple and classic, or you can decorate them with embroidery, small appliqués, or textured stitches. Sometimes I’ll add tiny flowers, little dots, or even simple surface crochet details to give each egg its own personality. It’s a wonderful way to experiment without committing to a large project.
These eggs are also perfect for using leftover yarn, which makes them both practical and sustainable. After years of crocheting, I always have small amounts of yarn in different colors, and this project is a beautiful way to bring them all together. Each egg ends up unique, shaped not only by the pattern but by the colors and combinations you choose.
Another thing I really appreciate about this project is how approachable it is. Whether you’re a beginner or experienced, it offers something enjoyable. For beginners, it’s a great way to practice working in the round and shaping with increases and decreases. For more experienced crocheters, it’s a chance to slow down and enjoy the process without overthinking.
Materials:
- Worsted weight yarn in various colors
- 3.5 mm crochet hook
- Fiberfill stuffing
- Tapestry needle
- Scissors
Abbreviations (US Terms):
- MR – Magic Ring
- SC – Single Crochet
- INC – Increase (2 SC in one stitch)
- DEC – Decrease (SC2TOG)
- SL ST – Slip Stitch
- FO – Fasten Off
Pattern:
- Round 1: MR, 6 SC (6)
- Round 2: INC around (12)
- Round 3: (SC, INC) * 6 (18)
- Round 4: (2 SC, INC) * 6 (24)
5-8. Rounds 5-8: SC around (24) - Round 9: (2 SC, DEC) * 6 (18)
- Round 10: (SC, DEC) * 6 (12)
Stuff the egg firmly. - Round 11: DEC around (6)
FO, weave the ends to close the egg.
Finishing Touches:
- Use different colors to create striped or patterned Easter eggs.
- Embroider small details or add beads for extra decoration.
Finishing is always done with care. I make sure all ends are neatly woven in and that the surface is smooth and clean. If needed, I might lightly steam the eggs from a distance, especially if I’ve used cotton yarn, just to help the fibers settle and give them a more polished appearance.
In the end, crochet Easter eggs are more than just small decorative pieces. They carry a sense of warmth and creativity that reflects the time and care put into each stitch. Whether displayed in a basket, used as part of a seasonal decoration, or given as a handmade gift, they bring a soft, cheerful touch that feels truly special.
After so many years with my hook and yarn, I’ve come to appreciate projects like this for their simplicity and charm. They remind me that crochet doesn’t always have to be complex to be meaningful. Sometimes, the smallest pieces are the ones that bring the most joy, and there’s something truly lovely about holding a finished egg in your hand, knowing it was created slowly, stitch by stitch, with care in every detail.
Note: Here is a pattern suggestion for you to create your own pattern. The end result may vary.