DIY Crochet Headband Tutorial. If you’re looking for a stylish and practical accessory to add to your wardrobe, then this guide on how to make a DIY crochet headband is perfect for you. Whether you’re a beginner or an experienced crocheter, this easy and quick project is a great way to use leftover yarn and practice your favorite stitches while creating something you’ll actually wear.
When I begin a crochet headband, the first thing I think about is yarn choice, because it truly defines the final look and feel. For colder seasons, I love using soft acrylic or wool blends that provide warmth and a bit of stretch, making the headband comfortable to wear for long periods. For lighter, everyday use, cotton yarn is a wonderful option, offering breathability and a clean, structured finish. The weight of the yarn also plays a role. A medium-weight yarn tends to strike the perfect balance, giving enough thickness to the headband without making it bulky.
DIY Crochet Headband Tutorial for All Skill Levels
In this DIY crochet headband tutorial, you’ll learn how to create a stretchy, comfortable, and cute headband that’s great for any season. You can customize it with different yarn colors and textures to suit your style or even add embellishments like buttons or flowers for an extra touch of personality. Crocheting your own headband is not only fun but also a great way to practice and relax. Once you’ve made one, you’ll want to create them in every color! They also make perfect handmade gifts. Enjoy your new favorite go-to project!
Creating a DIY Crochet Headband Tutorial is one of those projects that beautifully combines simplicity, practicality, and creativity, and as an experienced crocheter, I can say it’s a piece I return to again and again. There’s something incredibly satisfying about working on a headband. It’s quick enough to finish in a short sitting, yet it offers endless possibilities for texture, style, and personal expression. Whether you’re making it for yourself, as a gift, or even to sell, it’s the kind of project that always feels worthwhile.
DIY Crochet Headband Tutorial Pattern
Hook size is just as important as yarn selection. I often go slightly smaller than recommended if I want a tighter, more structured fabric, especially for designs that need to hold their shape. For stretchier, more relaxed headbands, I’ll follow the suggested hook size or even go up slightly. Over time, you develop an instinct for this, adjusting based on the effect you’re trying to achieve. It’s one of those small decisions that makes a big difference in the finished piece.
The construction itself is wonderfully straightforward, which is part of its charm. Most headbands are worked in rows, starting with a foundation chain that matches the desired width. From there, it’s all about building the texture. This is where I like to get creative. Simple stitches like single crochet or half double crochet create a smooth, classic look, while more textured stitches—like ribbing worked in the back loop only or front post stitches—add depth and visual interest. Even after years of crocheting, I still enjoy experimenting with different stitch combinations to see how they transform such a simple shape.
As I work through the rows, I focus on maintaining even tension and straight edges. It’s easy for edges to become uneven if you’re not careful, especially with repetitive stitches, so I always count my stitches and make sure I’m placing the last stitch correctly. These small habits, developed over time, help ensure that the finished headband looks polished and professional. There’s a quiet rhythm to this part of the process, and it’s often where I find myself most relaxed, just enjoying the flow of the yarn and the steady movement of the hook.
Materials:
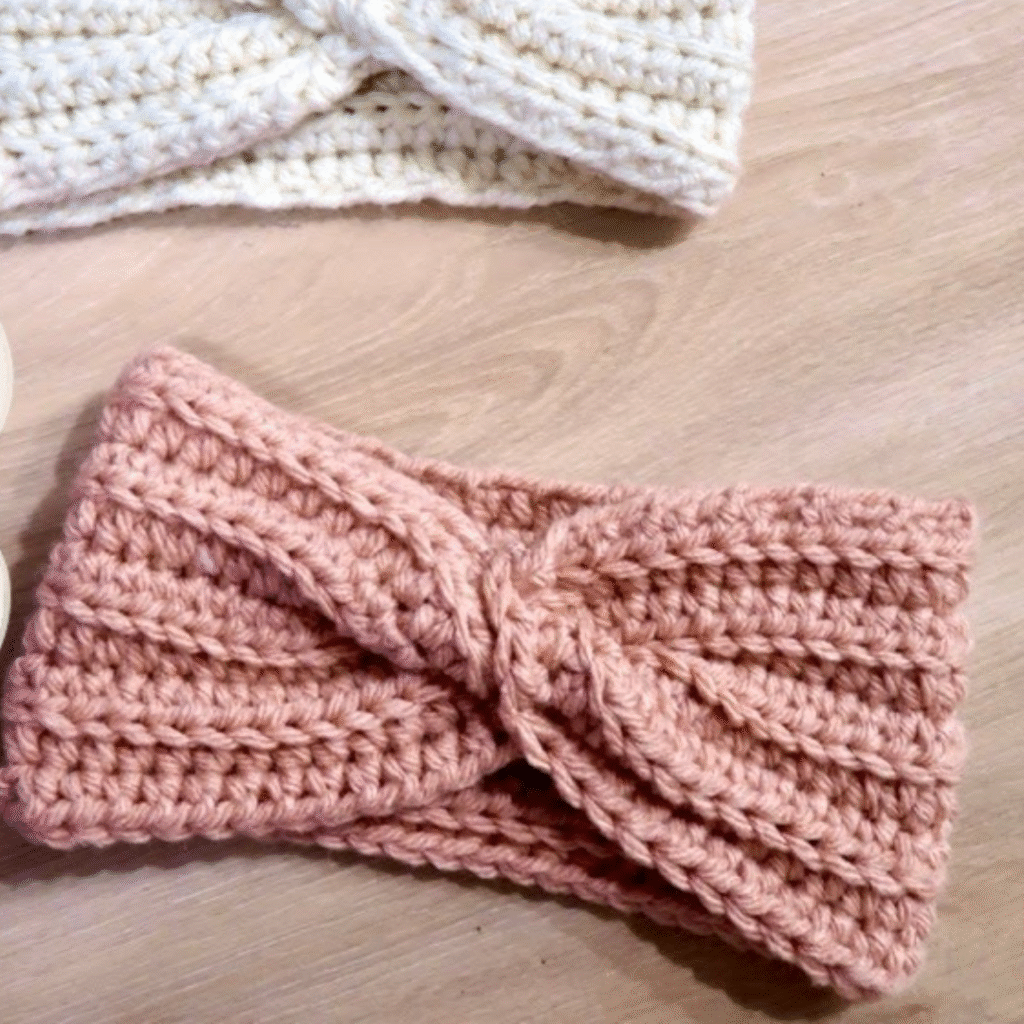
One of my favorite design elements in a crochet headband is the twist or knot detail at the front. It adds a touch of elegance and transforms a simple strip into something much more stylish. Creating this effect can be done in different ways—either by folding and sewing the ends together or by using a clever construction method that avoids sewing altogether. I personally enjoy both approaches, depending on the design. The key is to keep the twist neat and centered, so it enhances the look without overpowering it.
Once the main piece is complete, joining the ends is the next step. I always take care here, making sure the seam is secure but not bulky. A clean join ensures the headband sits comfortably against the head and maintains its shape. If I’m working with a stretchy yarn, I make sure not to pull too tightly, allowing the headband to retain its flexibility.
- Worsted weight yarn (approx. 50g)
- 5.0 mm crochet hook
- Yarn needle
- Scissors
Abbreviations (US terms):
- CH = Chain
- SC = Single Crochet
- HDC = Half Double Crochet
- SL ST = Slip Stitch
- FO = Fasten Off
Instructions:
- Foundation Chain:
CH 60 (or adjust to the desired head circumference – must be an even number). - Row 1:
HDC in 2nd CH from hook and in each CH across. CH 1, turn. - Row 2–6:
HDC in each stitch across. CH 1, turn. - Finishing:
Fold the band in half lengthwise and SL ST the short ends together to form a loop. FO and weave in ends. - Optional:
Wrap a small piece of yarn around the seam to create a knot-like center and secure with a few stitches.
It’s also one of those projects that makes a thoughtful handmade gift. There’s something special about giving someone a headband you’ve made yourself, knowing it’s both beautiful and practical. And because it works up relatively quickly, it’s ideal for making multiple pieces in different styles or colors.
Even after years of crocheting, I still find joy in projects like this. They remind me that crochet doesn’t always have to be complex to be meaningful. Sometimes, the simplest designs are the most satisfying, allowing you to focus on the rhythm of the stitches and the pleasure of creating something with your hands.
In the end, creating a DIY Crochet Headband Tutorial is about more than just the finished piece. It’s about the process—the quiet moments, the steady rhythm, and the small decisions that shape the final result. And when you slip the finished headband on, there’s that familiar feeling of satisfaction, knowing you’ve created something both beautiful and useful, one stitch at a time.