Crochet mini pouch tutorial. Looking for a quick and easy project? This crochet mini pouch tutorial will guide you step by step to create a cute and functional pouch in no time! There’s something deeply satisfying about making something small, useful, and beautifully finished, all in one sitting. It’s the kind of project that lets you slow down, enjoy the rhythm of your stitches, and still end up with something you’ll actually use every day, whether it’s for coins, earbuds, lip balm, or those little bits that always seem to get lost in a bag.
I usually begin with the base, because the foundation really determines how well the pouch will hold its shape. Depending on the style I want, I might start with a magic ring and work in continuous rounds to create a seamless bottom, or I’ll chain and work in rows for a slightly more structured look. For mini pouches, I tend to prefer working in the round because it creates a cleaner finish with no visible seams. As always, I keep my tension consistent and slightly tight, using a smaller hook than recommended so the fabric is dense and sturdy.
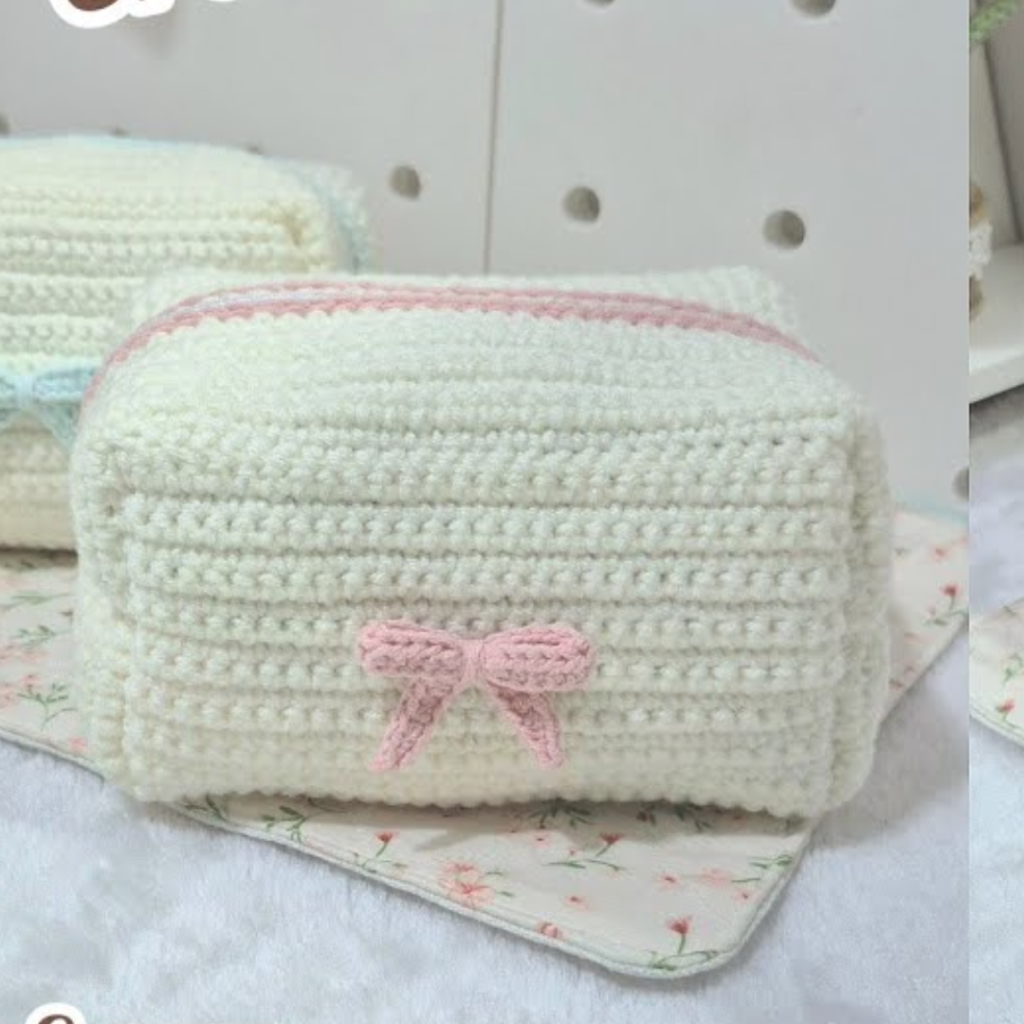
Step-by-Step Crochet Mini Pouch Tutorial
Crochet mini pouch tutorial. This mini pouch is perfect for storing small essentials like coins, jewelry, or lip balm. With just a few materials, you can make a stylish and practical accessory. Now that you’ve completed this crochet mini pouch tutorial, try experimenting with different yarn colors and closures to make unique pouches for yourself or as gifts!
The choice of yarn plays a big role in the final result. I almost always reach for cotton yarn when making pouches, because it offers excellent stitch definition and durability. It holds its shape well and doesn’t stretch out too much over time, which is exactly what you want for something that will be opened and handled often.
That said, a soft acrylic blend can also work if you’re going for a more flexible, slightly cushioned feel. Color is where you can really have fun with this project. I love using bold, vibrant shades for a playful look, but soft neutrals or pastels can make the pouch feel more elegant and understated.
Crochet Mini Pouch Tutorial – Free Pattern
As I build up the sides, I focus on keeping the stitches even and the edges straight. This is where a steady rhythm really helps. There’s something almost meditative about working round after round, watching the pouch slowly take shape in your hands. I pay attention to the height, making sure it’s proportional to the width so the pouch feels balanced and functional. A mini pouch doesn’t need to be deep, but it should be tall enough to securely hold its contents.
Once the body is complete, I start thinking about the closure. This is one of my favorite parts because it adds both function and personality. A simple drawstring is always a reliable option, easy to make and practical for everyday use. I’ll create small spaces near the top by chaining and skipping stitches, then thread a cord or crocheted string through. For a slightly more polished look, I might add a button and loop closure or even a small zipper if I want something more secure. Each option gives the pouch a different character, and I like to choose based on how I plan to use it.
If I’m adding a flap, I usually work it directly onto the top edge, creating a smooth transition from the body of the pouch. I shape it carefully, often with gentle decreases, so it curves naturally over the opening. This adds a nice finishing touch and makes the pouch feel more complete. It’s a small detail, but it elevates the overall design.
Materials:
- Worsted weight yarn (any color)
- 3.5 mm crochet hook
- Tapestry needle
- Button or drawstring for closure
- Scissors
Abbreviations (US Terms):
- CH – Chain
- SC – Single Crochet
- HDC – Half Double Crochet
- SL ST – Slip Stitch
- FO – Fasten Off
Pattern:
- Foundation: CH 16.
- Row 1: SC in 2nd CH from hook, SC across (15). CH 1, turn.
- Rows 2-20: SC across. CH 1, turn. (Adjust rows for desired height.)
- Fold the piece: Join sides with SL ST or sew with a tapestry needle.
- Flap: CH 1, SC across top edge, decreasing at edges for a rounded look.
- Closure: Sew a button or create a drawstring using a chain loop.
Finishing Touches:
- Add embellishments like beads or embroidery for a personalized touch.
- Use contrasting yarn colors for a fun and unique design.
Finishing is something I never rush, even with a quick project like this. I carefully weave in all ends, making sure nothing is loose or visible. I also take a moment to shape the pouch gently with my hands, smoothing out the stitches and ensuring the structure looks clean and even. If I’ve used cotton yarn, I might lightly steam it from a distance to help the fibers settle and give it a more polished appearance.
What I love most about making crochet mini pouches is how adaptable they are. You can change the size, the stitch pattern, the colors, or the closure, and each variation feels like a completely new project. It’s a wonderful way to experiment and use leftover yarn, and it’s also perfect for gifting. A handmade pouch always feels thoughtful and personal, even though it doesn’t take much time to create.
After years of crocheting, I’ve come to appreciate projects like this for their balance of simplicity and usefulness. They remind me that crochet isn’t just about making decorative items, but about creating things that fit into everyday life. A mini pouch might be small, but it carries that same sense of care and craftsmanship as any larger piece.
In the end, this little pouch becomes more than just a container. It’s a reflection of your time, your creativity, and your attention to detail. Whether it’s tucked into a bag or given to someone special, it holds that unmistakable handmade warmth. And honestly, there’s something incredibly satisfying about finishing a project like this and knowing that something so simple can be so useful and beautiful at the same time, all created stitch by stitch with your own hands.
Note: Here is a pattern suggestion for you to create your own pattern. The end result may vary.