Bow Hairclip Crochet are charming accessories, perfect for adding a personal touch to any hairstyle. They’re quick to make and customizable! It’s simple, quick, and incredibly versatile, yet it still allows you to focus on technique, detail, and finishing in a very intentional way. Even after years with a hook in my hand, I find myself returning to bows again and again, because they offer that perfect balance between creativity and ease, and the result is always something delicate and useful
Bow Hairclip Crochet. The beauty of this piece lies in its simplicity, so I pay close attention to my stitch choice. Single crochet creates a dense, structured bow, while half double or double crochet gives a softer, more flexible fabric. The yarn and hook combination matter here as well. I tend to use a slightly smaller hook to keep the stitches neat and defined, especially since this is a piece that will be seen up close.
How to Bow Hairclip Crochet
Creating a Bow Hairclip Crochet is an easy and fun project. You can make these bows in your favorite colors, attach them to hairclips, and gift them or use them to enhance your own look. Ideal for beginners, this project only requires basic stitches and simple assembly. Your Bow Hairclip Crochet is now complete! Personalize it further with beads, buttons, or glitter. This versatile craft is perfect for all occasions.
As I work the rows, I focus on keeping the edges straight and even. With such a small project, any irregularity can stand out, so I take my time at the beginning and end of each row, making sure the turning chains are consistent. It’s a quiet, rhythmic process, and one that feels almost meditative. Before long, the rectangle is complete, and it already hints at the bow it will become.
Detailed Recipe: Bow Hairclip Crochet
Shaping the bow is one of my favorite moments. I gently fold the rectangle and pinch it at the center, watching as it transforms into that classic bow shape. It’s such a simple step, yet it always feels a little magical. To secure it, I wrap yarn tightly around the middle, creating that gathered center that defines the bow. I usually wrap several times to give it a neat, finished look, then tie it off securely at the back.
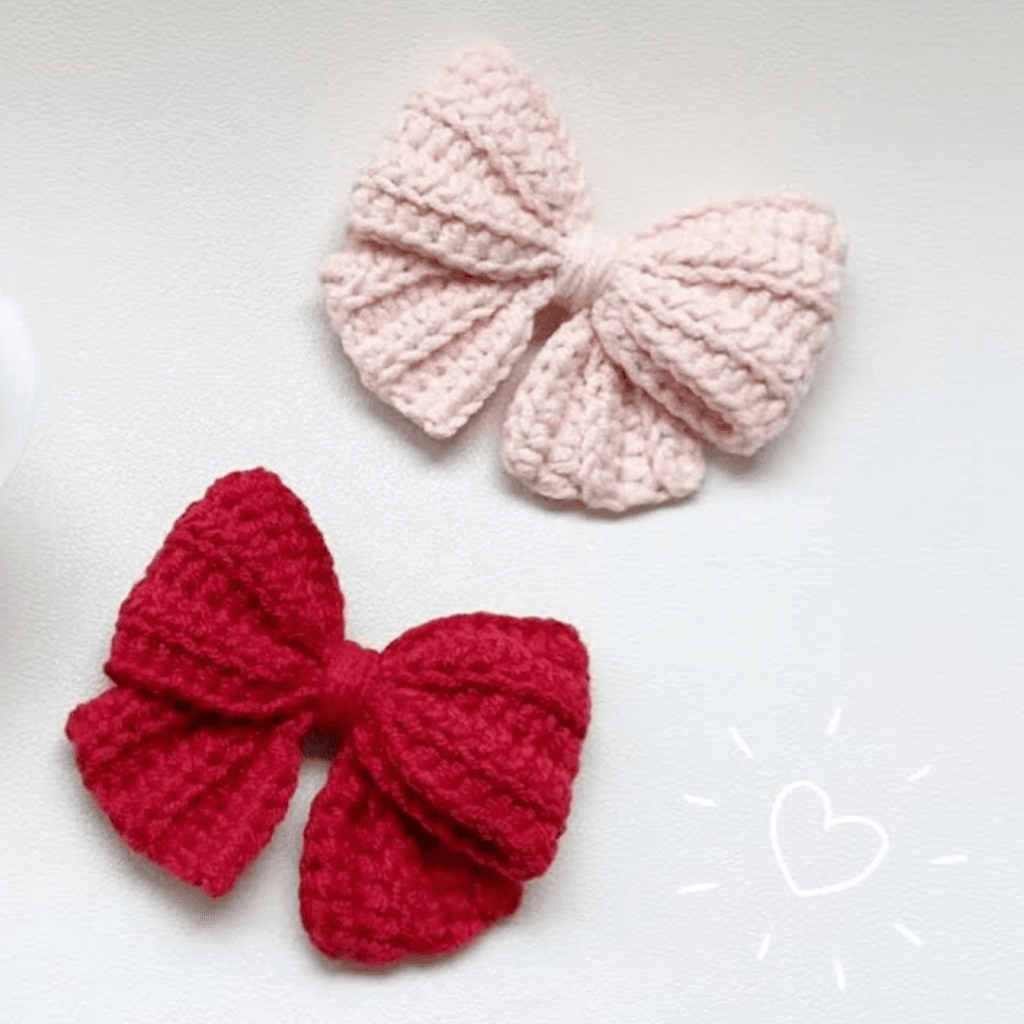
Choosing the yarn for a bow hairclip is where you can really let your creativity shine. I love working with soft cotton for a clean, structured appearance, but acrylic yarn can add a bit more flexibility and softness. The color choices are endless, from soft pastels that feel delicate and sweet, to bold, vibrant shades that make a statement. Sometimes I even experiment with variegated yarns or subtle textures to give the bow a bit more visual interest.
Once the bow itself is complete, I turn my attention to attaching it to the hairclip. This step may seem straightforward, but it’s important to do it securely so the bow stays in place with regular use. I usually sew the bow onto the clip using matching yarn, making small, tight stitches that are barely visible. If I want extra stability, I might add a small crocheted base or a bit of fabric between the bow and the clip. It’s one of those details that ensures the piece not only looks good but also lasts.
The size of the bow can be easily adjusted, which is something I really enjoy about this project. A smaller bow feels subtle and elegant, perfect for everyday wear, while a larger one becomes more playful and eye-catching. By simply changing the number of rows or the thickness of the yarn, you can create a wide range of styles without altering the basic technique.
Finishing is always something I approach with care, even for a small piece like this. I make sure all ends are neatly woven in and that the center wrap is secure and tidy. I also take a moment to shape the bow with my fingers, adjusting the loops so they sit evenly and have a soft, balanced look. These small finishing touches make a noticeable difference and give the bow that polished, handmade quality.
Materials:
- Yarn: Medium-weight acrylic or cotton yarn in your preferred colors.
- Hook: 3.5mm crochet hook.
- Hairclip or barrette.
- Yarn needle.
- Scissors.
Abbreviations (US terms):
- CH: Chain
- SC: Single crochet
- SL ST: Slip stitch
- FO: Fasten off
Instructions:
Bow Base
- CH 20 (adjust for desired bow size).
- Row 1: SC in the 2nd CH from the hook and across. CH 1, turn. (19)
- Rows 2–8: SC in each stitch across. CH 1, turn. (19)
- FO, leaving a long tail for sewing.
Center Wrap
- CH 8.
- Row 1: SC in the 2nd CH from the hook and across. CH 1, turn. (7)
- Rows 2–3: SC in each stitch across. FO, leaving a tail.
Assembly
- Fold the bow base accordion-style in the center.
- Wrap the center strip around the middle of the bow base.
- Sew the ends of the center wrap together at the back.
- Attach the bow to a hairclip or barrette using the remaining tail or hot glue.
After years of crocheting, I’ve come to appreciate projects like this for their simplicity and the quiet satisfaction they bring. They don’t require a large time commitment, but they still allow you to practice precision and enjoy the process. They’re perfect for those moments when you want to create something without overthinking, something that comes together quickly but still feels meaningful.
There’s also something special about the fact that this is a wearable piece. It becomes part of someone’s everyday life, adding a small handmade touch to a simple hairstyle. That connection between maker and wearer is something I always value, even in the smallest projects.
In the end, a crochet bow hairclip is more than just a simple accessory. It’s a small expression of creativity, a piece that carries care and attention in every stitch. And honestly, there’s something incredibly satisfying about finishing one, holding it in your hand, and seeing how such a simple design can feel so complete, so charming, and so full of personality.
Note: Here is a pattern suggestion for you to create your own pattern. The end result may vary.