Make your own adorable Hello Kitty crochet doll with this easy-to-follow pattern! A perfect handmade gift for fans of the iconic character. There’s something so special about bringing such a beloved figure to life stitch by stitch. Even after making many dolls over time, I still feel that little spark of excitement when I begin shaping her signature round face and those unmistakable ears.
Working in continuous rounds, I begin with a magic ring and gradually increase to form a smooth, rounded shape. I always use a smaller hook than recommended to keep the stitches tight and uniform, which is essential for achieving that clean, polished look. With a simple shape like this, any inconsistency in tension can stand out, so I take my time to keep everything even and balanced.
Step-by-Step Guide to Creating a Hello Kitty Crochet Doll
Learn how to craft an enchanting Hello Kitty crochet doll with this simple and detailed pattern, perfect for beginners and experienced crocheters. The yarn choice plays a big role in capturing the character’s look. A bright, clean white is essential for the head and body, and I tend to choose a cotton yarn for its crisp stitch definition.
It helps maintain the structure and gives the doll that neat, refined finish. For the outfit and accessories, I enjoy playing with soft pastels or classic reds and pinks, depending on the style I want to create. The contrast between the white base and the colorful details is what really brings the doll to life.
Hello Kitty Crochet Doll Pattern
As the head takes shape, I begin stuffing it gradually, adding small amounts of fiberfill and shaping it gently with my hands. The goal is to achieve a firm, smooth surface without any lumps. I always take a moment to adjust the stuffing before closing the piece, making sure the shape is perfectly rounded and symmetrical. This is especially important for a character doll, where the face needs to be clean and even.
The body is usually smaller and simpler, often worked separately and attached later. I keep the proportions balanced, making sure the body supports the larger head without looking too bulky. The shaping here is subtle, just enough to give it a soft, slightly rounded form. Again, I maintain tight stitches and even tension to keep everything consistent.
The ears are one of the defining features, and I always enjoy making them. They’re small, rounded shapes that need to be firm and well-defined. I crochet them separately, then take my time positioning them on the head. Placement is key, and I always pin them first, adjusting until they sit evenly and symmetrically. Once I’m satisfied, I sew them on securely, making sure they hold their shape.
Materials:
- Yarn: White, pink, black, and yellow (medium-weight)
- Hook: 3.0 mm crochet hook
- Safety eyes: 8 mm
- Polyfill stuffing
- Yarn needle
- Stitch marker
Abbreviations:
- MR: Magic ring
- sc: Single crochet
- inc: Increase (2 sc in the same stitch)
- dec: Decrease (single crochet two stitches together)
- sl st: Slip stitch
Pattern Instructions:
Head:
- Round 1: MR, 6 sc into the ring. (6)
- Round 2: Inc in each stitch around. (12)
- Round 3: [1 sc, inc] repeat around. (18)
- Round 4: [2 sc, inc] repeat around. (24)
- Rounds 5-8: Sc in each stitch around. (24)
- Round 9: [2 sc, dec] repeat around. (18)
- Round 10: [1 sc, dec] repeat around. (12)
- Stuff firmly, close with a sl st, and fasten off.
Body:
- Round 1: MR, 6 sc into the ring. (6)
- Round 2: Inc in each stitch around. (12)
- Round 3: [1 sc, inc] repeat around. (18)
- Rounds 4-7: Sc in each stitch around. (18)
- Round 8: [1 sc, dec] repeat around. (12)
- Stuff firmly, close with a sl st, and fasten off.
Arms (Make 2):
- Round 1: MR, 6 sc into the ring. (6)
- Rounds 2-4: Sc in each stitch around. (6)
- Stuff lightly, close with a sl st, and leave a tail for sewing.
Legs (Make 2):
- Round 1: MR, 6 sc into the ring. (6)
- Rounds 2-4: Sc in each stitch around. (6)
- Stuff lightly, close with a sl st, and leave a tail for sewing.
Ears (Make 2):
- Round 1: MR, 6 sc into the ring. (6)
- Close with a sl st and leave a tail for sewing.
Bow:
- Using pink yarn, ch 7.
- Row 1: Sc in the second ch from the hook and across. (6)
- Rows 2-4: Sc in each stitch across.
- Fasten off and wrap the center tightly with yarn to form a bow.
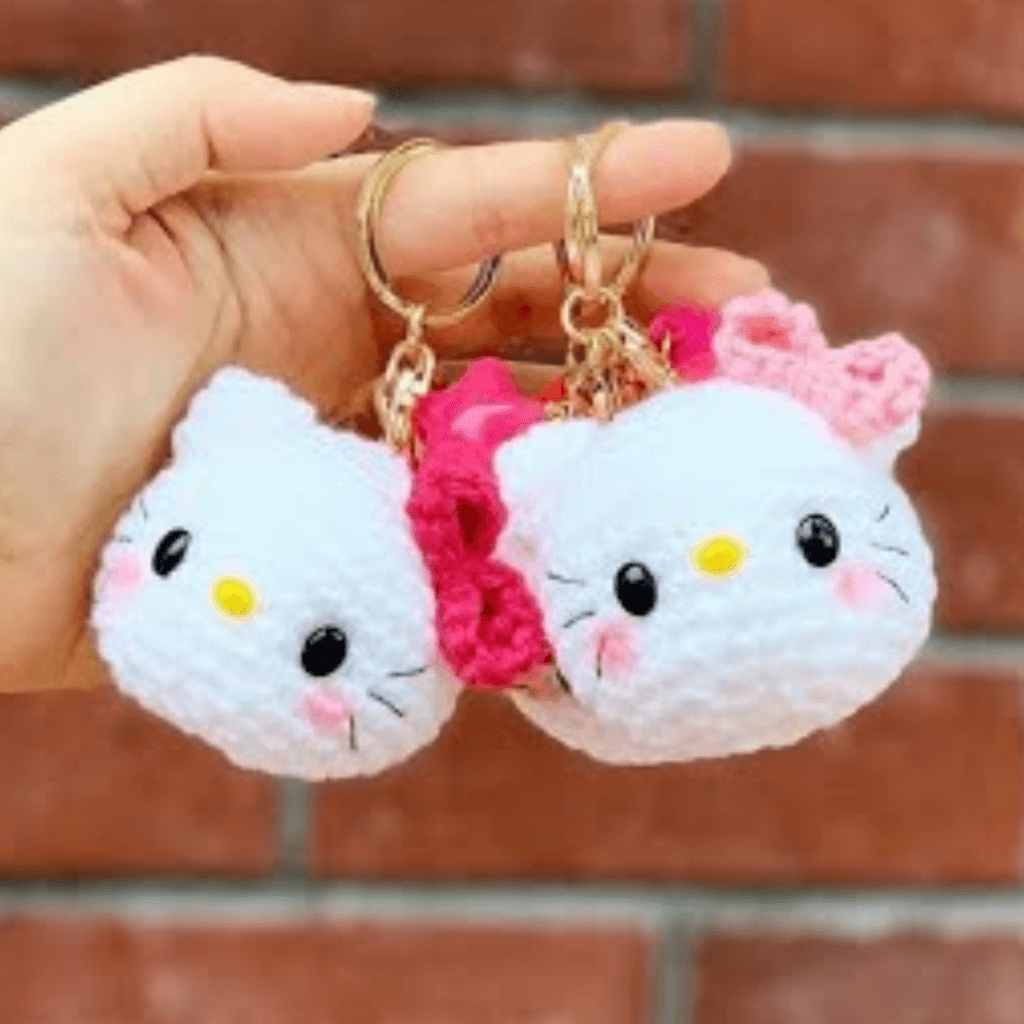
Face Details:
- Attach safety eyes to the head.
- Use yellow yarn to embroider the nose.
- Use black yarn to add whiskers.
Assembly:
- Sew the head to the body.
- Attach the arms and legs to the body.
- Sew the ears onto the head.
- Attach the bow to one ear.
Hello Kitty crochet doll. Final Thoughts
Finishing is something I never rush, especially with a character doll. I carefully weave in all ends, ensuring the surface is clean and smooth. I gently shape the doll one last time, adjusting the stuffing and smoothing the stitches. These final touches are what give the piece that polished, professional look.
After years of crocheting, I’ve come to appreciate projects like this for their balance of simplicity and detail. While the shapes themselves are not overly complex, the precision and care required to capture the character make it a deeply satisfying project. It’s about more than just following a pattern, it’s about bringing a familiar figure to life in your own way.
In the end, holding a finished Hello Kitty crochet doll in your hands is always a special moment. It’s soft, charming, and full of personality, a small piece that carries both nostalgia and creativity. And honestly, there’s something truly magical about seeing that iconic little face come together, knowing it was created slowly, stitch by stitch, with care in every detail.
Congratulations! Your Hello Kitty crochet doll is now complete. This delightful project is ideal for gifting or keeping as a charming handmade decoration.