Hello, fellow crocheters and cat lovers!
Today, I’m beyond excited to share a project that’s been bringing pure joy and sparkles to my crochet corner: the Princess Cat Amigurumi Outfit. Yes—you heard that right. I crocheted a full-on royal costume for a little cat amigurumi, complete with frilly dress, tiara, and even a teeny cape. And let me tell you—it was magical from the first stitch to the final sequin.
If you love making tiny outfits, adore fairy tales, or just want to sprinkle a little royalty into your crafting, this is the project for you. Let me take you through the whole journey—from yarn choice to royal reveal—because this one deserves the royal treatment.
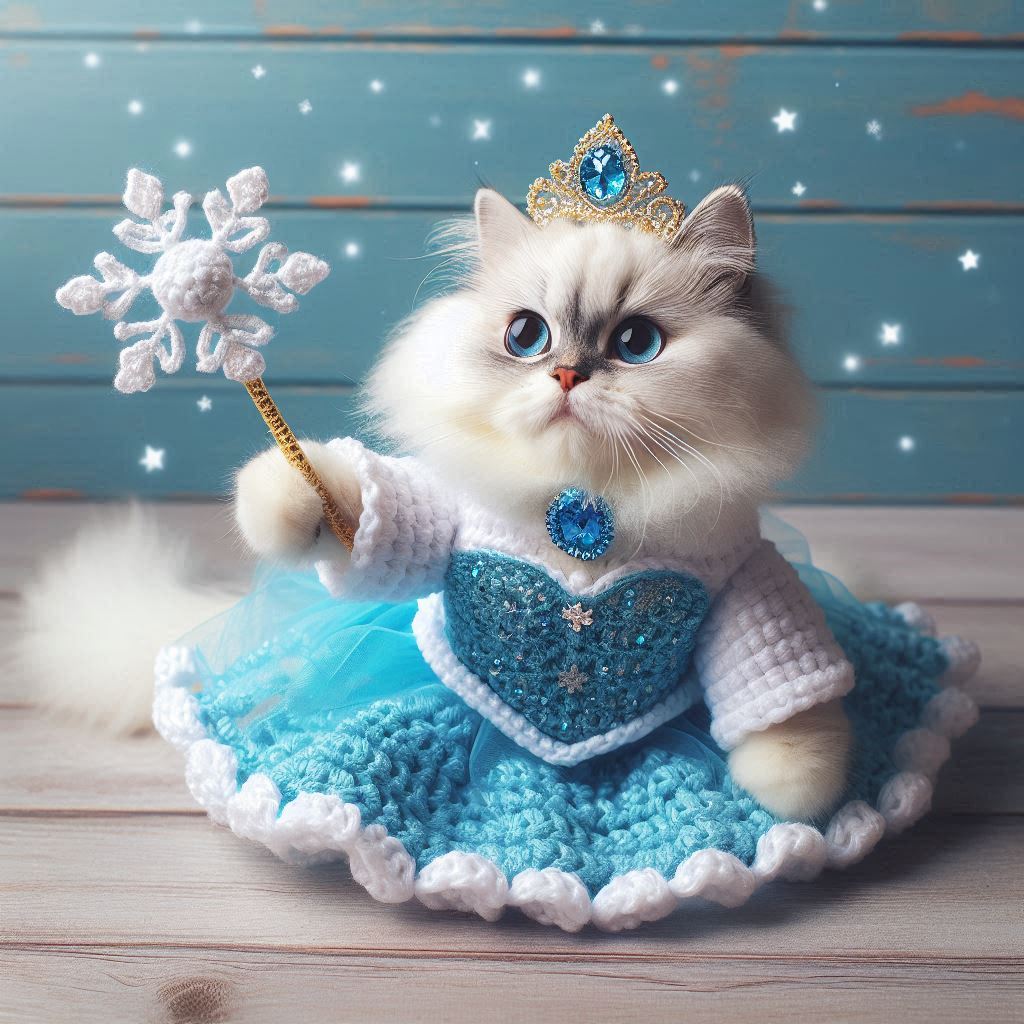
Crocheting a princess cat amigurumi outfit is a delightful way to dress up your amigurumi creations or even your pet for a special occasion. This enchanting outfit features a royal blue dress, a sparkling tiara, and a magical wand, making it perfect for bringing a touch of fairy-tale magic to your crochet projects.
Honestly? I think cats already act like royalty. They strut around the house like they own the place, they demand attention on their terms, and their attitudes scream “I’m the queen and don’t you forget it.” So turning a sweet little cat amigurumi into a princess just felt right.
Plus, I was itching to make something dainty, detailed, and super cute—and this outfit ticked all the boxes. Between the pastel colors, the tiny crown, and the elegant little dress, it was just the kind of creative escape I needed.
Step-by-Step Guide to Crocheting a Princess Cat Amigurumi Outfit
This outfit was designed specifically to fit a small cat-shaped amigurumi (think palm-sized plushie). I dressed mine up like she’s ready to host a royal tea party with her fellow plushies.
Here’s what I included in the design:
- A layered princess gown, crocheted with scalloped edges and a high-waisted fit
- A delicate tiara stitched with gold yarn and optional beads or faux gems
- A regal cape, because every cat princess needs dramatic flair
- Little shoes or paw covers, for the ultimate attention to detail
I stuck with soft colors like lavender, blush pink, baby blue, and gold accents—but this can easily be customized for any princess aesthetic you love.
Creating this princess cat amigurumi outfit involves a few simple crochet techniques and some sparkly embellishments. Follow the detailed pattern below to craft this adorable outfit, perfect for your amigurumi cat or even a small pet.
How to Crochet a Princess Cat Amigurumi Outfit. Materials:
- Yarn: Light weight yarn in white, blue, and gold
- Crochet Hook: Size 2.5mm or 3mm
- Tapestry needle
- Scissors
- Small jewels or beads for embellishment
- Elastic band or ribbon for securing the outfit
- Fabric glue (optional)
- Tulle fabric (for the tutu)
Abbreviations:
- ch: Chain
- sc: Single crochet
- dc: Double crochet
- inc: Increase (2 sc in the same stitch)
- sl st: Slip stitch
Pattern Instructions:
Dress Bodice:
- With blue yarn, ch 36 and join with a sl st to form a loop.
- Rounds 1-3: sc in each stitch around. (36)
- Round 4: sc in the next 5 stitches, inc; repeat around. (42)
- Rounds 5-6: sc in each stitch around. (42)
- Fasten off and weave in the ends.
Dress Skirt:
- With blue yarn, join at the bottom edge of the bodice.
- Round 1: dc in each stitch around, increasing evenly to add flare. (52)
- Round 2: sc in the next stitch, dc in the next stitch; repeat around.
- Round 3: sc in the next stitch, 2 dc in the next stitch; repeat around to create a ruffled edge.
- Fasten off and weave in the ends.
Tulle Tutu (Optional):
- Cut strips of tulle fabric approximately 2 inches wide and 12 inches long.
- Fold each strip in half, and slip knot them around the waist of the dress.
- Trim to desired length and fluff for volume.
Tiara:
- With gold yarn, ch 20 and join with a sl st to form a loop.
- Round 1: sc in each stitch around.
- Round 2: ch 5, sc in the next stitch; repeat around to form peaks.
- Fasten off and leave a long tail for sewing.
- Attach small jewels or beads to the peaks of the tiara.
Wand:
- With gold yarn, ch 8 and join with a sl st to form a ring.
- Round 1: sc 8 into the ring.
- Round 2: inc in each stitch; repeat around. (16)
- Rounds 3-4: sc in each stitch around.
- Fasten off and leave a long tail for sewing.
- Attach a small stick or chopstick to the bottom of the wand and wrap it with yarn or ribbon. Attach a small star or snowflake embellishment to the top.
Final Touches:
- Attach the tiara and wand to your amigurumi cat using the remaining yarn tails or fabric glue.
- Secure the dress with an elastic band or ribbon around the waist.
- Add any additional embellishments, like sequins or buttons, to enhance the outfit’s sparkle.
When I put all the pieces together and dressed my little cat amigurumi in her full princess look, I could NOT stop smiling. She looked like she had just stepped out of a fairy tale. I placed her next to a tiny crochet pumpkin coach I made last fall, and voilà—Cinderella meets Catnella.
If you’re into doll making or love outfitting your amigurumis, this is a must-try. I even added a glittery stand to display her on my craft shelf, and everyone who visits stops to admire her royal highness.
Conclusion
Crocheting this tiny outfit was one of those soul-nourishing projects that reminded me why I love this craft so much. It’s playful, imaginative, and full of heart. Watching my cat amigurumi transform into a princess made me feel like a fairy godmother with a crochet hook—and honestly, isn’t that what crochet is all about?
So if you’re looking for something magical to make, give this Princess Cat Amigurumi Outfit a try. You’ll laugh, you’ll squeal, and you’ll fall even deeper in love with your craft.
Happy hooking and long live the crochet queens!
Your princess cat amigurumi outfit is now complete! This charming ensemble is sure to add a magical touch to your crochet creations or make your pet look royally adorable. Whether for playtime, a themed photoshoot, or a gift, this outfit is a fun and creative project for any crocheter.