If you’re looking for a simple and adorable project, learning how to crochet a no sew panda is a perfect choice! This plush is made entirely in one piece using fluffy yarn, which means no extra stitching for ears, arms, or legs—ideal for beginners or anyone who wants a quick, mess-free amigurumi experience. Soft, squishy, and irresistibly cute, this panda is sure to be a favorite!
When I begin a no-sew panda, I always think carefully about yarn choice because contrast is everything in this design. A bright, clean white paired with a deep black creates that classic panda look instantly. I usually reach for cotton yarn for its stitch definition, especially since the color changes need to look crisp and intentional. With no-sew pieces, every transition is visible, so maintaining neat color changes is key. I also prefer using a smaller hook than usual to keep the stitches tight, which helps preserve the structure and keeps the stuffing from showing through.
Creating a How to crochet a no sew panda is one of those wonderfully satisfying projects that feels both efficient and deeply rewarding. As an experienced crocheter, I’ve come to truly appreciate no-sew designs, especially when working with amigurumi. There’s something incredibly smooth about the process when you can build a character almost entirely in one continuous flow, without the interruption of assembling multiple separate pieces at the end. With a panda, that simplicity pairs beautifully with its naturally clean and recognizable color pattern, making it a joy from start to finish.
How to Crochet a No Sew Panda with Plush Yarn
How to Crochet a No Sew Panda. Crocheting a no sew panda is a fun and relaxing project. You only need basic amigurumi skills and plush yarn to create an irresistibly soft and cuddly companion. Here’s how you can make your own from start to finish!
With just a few materials and some cozy yarn, you can easily bring this sweet no sew panda to life. It’s a perfect project for gifting or keeping as a soft desk companion. Enjoy the simplicity and charm of no-sew crochet!
The beauty of a no-sew panda lies in its construction. Instead of crocheting separate arms, legs, and ears and attaching them later, everything is integrated as you go. This requires a bit more attention while working, but once you get into the rhythm, it feels incredibly intuitive. Starting with the head, worked in continuous rounds, I focus on building a smooth, rounded shape. The head is typically the largest part, and it sets the tone for the entire piece. Even tension is essential here, and I always add stuffing gradually to keep the shape consistent and free of lumps.
How to Crochet a No Sew Panda. Detailed Pattern
One of the most enjoyable aspects of this design is incorporating the panda’s iconic eye patches directly into the work. This can be done through careful color changes or surface crochet, depending on the style. As an experienced crocheter, I find that planning these transitions ahead of time makes a big difference. You want the patches to sit symmetrically and frame the eyes perfectly. When done well, they immediately bring the panda to life, even before the eyes are added.
The eyes themselves are small but incredibly important. I often use safety eyes for a clean and polished look, placing them right within or just above the black patches. The positioning should create that gentle, slightly curious expression that pandas are known for. Sometimes I’ll embroider tiny details around the eyes to soften the look, especially if I want a more delicate finish. The nose, usually a small black triangle, is another subtle feature that adds character without overwhelming the face.
As the body begins to form, the no-sew technique really starts to shine. Instead of attaching limbs later, you crochet them directly into the rounds using techniques like bobble stitches or partial shaping. This might feel a bit unusual at first, but it becomes incredibly satisfying once you understand the flow. The arms and legs emerge naturally from the body, and because they’re integrated, they feel more secure and seamless. There’s no need to worry about alignment or stitching pieces on evenly at the end, which is often one of the more time-consuming parts of traditional amigurumi.
The ears are another detail that can be incorporated as you go or added with minimal sewing, depending on the pattern. I personally enjoy shaping them directly within the rounds when possible. Small, rounded, and slightly raised, they give the panda its unmistakable silhouette. Placement is still important, even in a no-sew design, so I always pay close attention to symmetry and spacing.
Materials Needed:
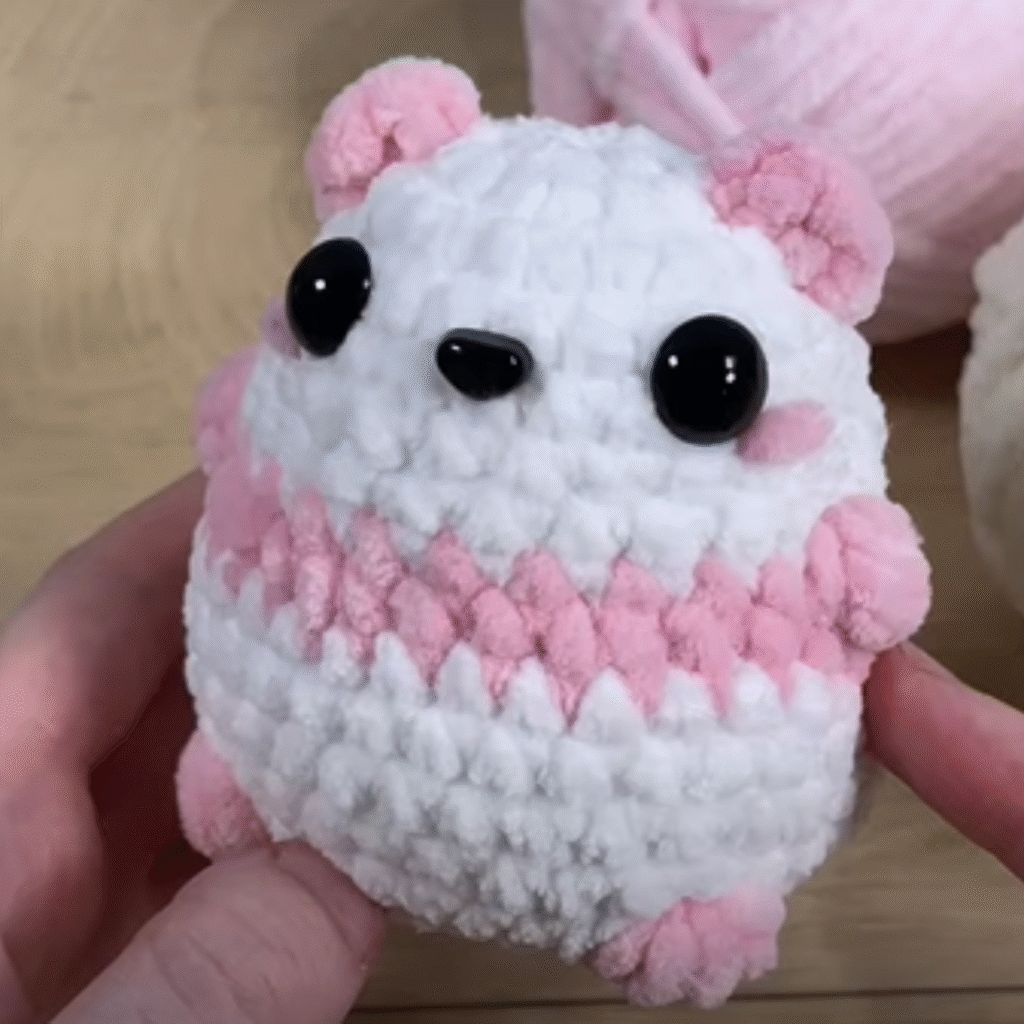
- Plush/chunky yarn (white and pink or preferred color combo)
- 6 mm crochet hook
- Safety eyes (12 mm)
- Safety nose
- Yarn needle (for weaving only)
- Stitch marker
- Stuffing (polyfill)
Pattern (worked in continuous rounds):
Head + Body (worked as one piece):
- Magic ring, 6 sc in ring (6)
- Inc in each st around (12)
- (1 sc, inc) repeat around (18)
- (2 sc, inc) repeat around (24)
- (3 sc, inc) repeat around (30)
6–12. Sc in each st (30) - Switch to pink yarn: (4 sc, inc) repeat (36)
14–15. Sc around (36) - (4 sc, dec) repeat (30)
- Switch back to white yarn: (3 sc, dec) repeat (24)
- (2 sc, dec) repeat (18)
Insert safety eyes between rounds 7–8, and nose between rounds 8–9.
Stuff firmly. - (1 sc, dec) repeat (12)
- Dec around (6)
Fasten off and weave in the end.
Ears, Arms & Legs (all crocheted directly onto body or started in the round and slip stitched to body):
Each is made with:
- Magic ring, 6 sc in ring (6)
- Sc around (6)
- Fasten off and sew or surface attach (optional to crochet directly into body if preferred no-sew)
Blush Cheeks (optional):
Using pink yarn, embroider or stitch small blush circles just below each eye.
In the end, creating a How to crochet a no sew panda is about more than just efficiency. It’s about enjoying the flow of the craft, appreciating the elegance of seamless construction, and taking pride in a piece that looks polished and cohesive from every angle. It’s the kind of project that leaves you not only with a finished amigurumi, but with a renewed appreciation for the possibilities within crochet itself.
Note: Here is a pattern suggestion for you to create your own pattern. The end result may vary.