Crochet heart plushies are the perfect handmade accessory or gift for loved ones. This easy crochet heart plushie tutorial is beginner-friendly and quick to make. Whether for Valentine’s Day, anniversaries, or just because, this adorable project adds a touch of love to any occasion.
Even after years of working on more intricate patterns, I still find myself coming back to something as simple as a heart, because it captures so much emotion in such a small, gentle shape. It’s the kind of piece that doesn’t demand complexity, but instead invites you to slow down, enjoy the rhythm of your stitches, and create something that feels warm and meaningful from the inside out.
I usually begin with the two top curves of the heart, working them separately in the round. This is a technique I’ve always loved because it allows you to build the shape in a very natural way. Each half starts with a magic ring, and as I work through the increases, I focus on keeping the stitches smooth and even. Using a smaller hook than the yarn suggests is something I always do for plushies, because it keeps the fabric tight and helps the piece hold its form without gaps. These first rounds are simple, but they set the tone for the entire project.
How to Make an Easy Crochet Heart Plushie
This easy crochet heart plushie is soft, squishy, and customizable in any color. With just a bit of yarn, fiberfill stuffing, and basic crochet stitches, you can create a heartfelt gift or decoration in no time. Let’s get started on this simple step-by-step project!
Creating an easy crochet heart plushie is a delightful way to spread joy. These plushies are versatile, from keychains to room décor, and make meaningful, handmade gifts. Enjoy crafting these little symbols of love!
Once both halves are complete, joining them is one of my favorite moments. It’s where the heart truly begins to take shape. I connect the two pieces and continue working in rounds, carefully blending them into a single form. From here, the shaping becomes very intuitive. Gentle decreases start to pull the structure downward, forming that familiar point at the base. I always pay close attention to my tension during this stage, because it ensures the heart looks smooth and symmetrical.
Choosing the yarn is where the personality of the plushie really comes to life. Classic red or soft pink are always beautiful choices, especially if the heart is meant as a gift, but I also love experimenting with other colors. Cream, lavender, or even muted earthy tones can give the heart a completely different feel. Cotton yarn provides a clean, defined look, while a soft acrylic or plush yarn creates a cozier, more cuddly texture. Each option has its own charm, and I often choose based on how I want the finished piece to feel in the hands.
Detailed Recipe: Easy Crochet Heart Plushie
As the shape develops, I start adding the stuffing, and this is a step I never rush. I use small amounts of fiberfill at a time, gently pressing it into the curves to maintain that rounded, full appearance. The top sections should feel soft and plump, while the lower point should be shaped carefully so it doesn’t become too narrow or uneven. I always take a moment to adjust the stuffing with my fingers, smoothing out any lumps and making sure the heart feels balanced on both sides.
The final rounds, where the opening closes, require a bit of patience. I decrease gradually, keeping the stitches tight and even so the finish looks clean. Before closing completely, I double-check the shape, adding a bit more stuffing if needed and adjusting the curves one last time. Then I finish off neatly, weaving in the end so it disappears into the fabric.
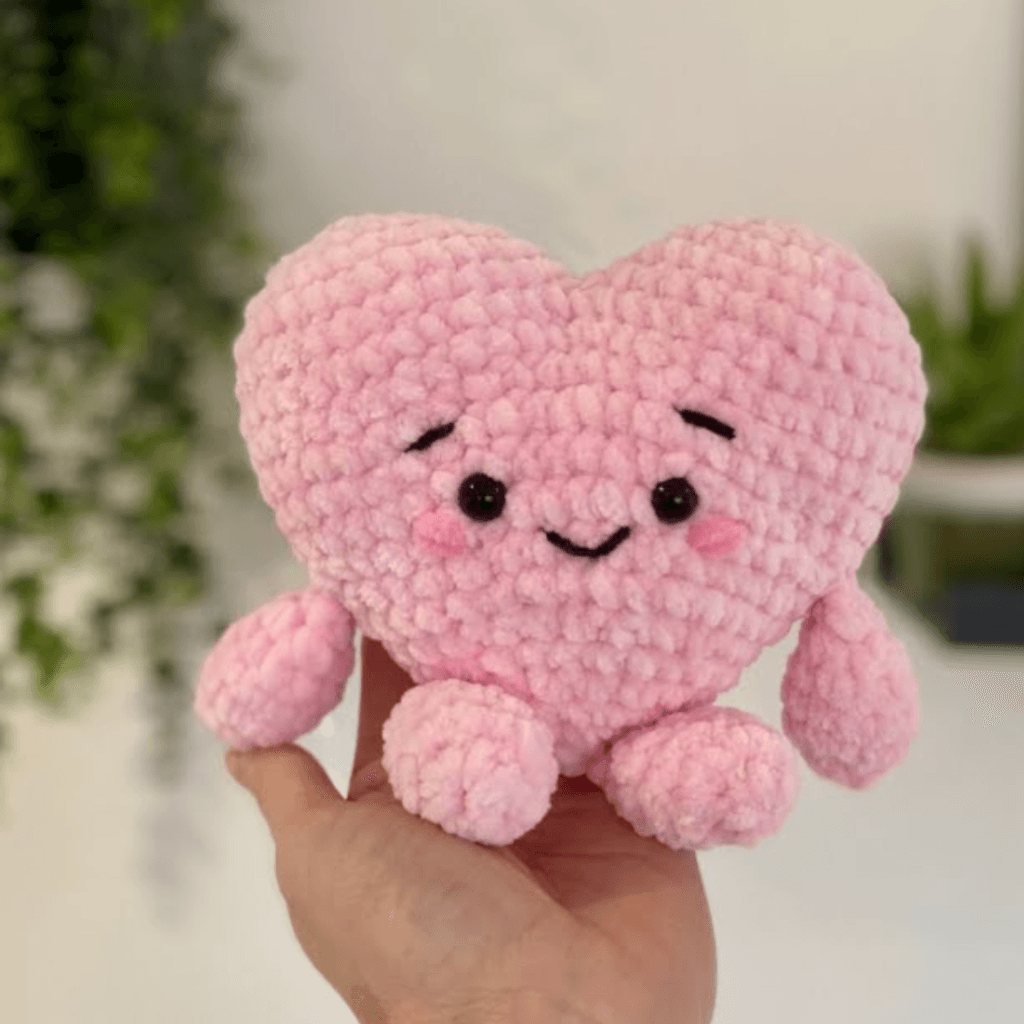
What I love most about this project is how versatile it is. Even though the basic structure is simple, there’s so much room for creativity. You can leave the heart plain for a classic look, or add small details like embroidered eyes to turn it into a cute character. Sometimes I like to stitch a tiny smile or add a blush effect with soft yarn, giving the heart a gentle personality. Other times, I keep it minimal, letting the shape and color speak for themselves.
Materials:
- Yarn: Worsted-weight yarn in your chosen color.
- Hook: 3.5mm crochet hook.
- Fiberfill stuffing.
- Yarn needle and scissors.
Abbreviations (US terms):
- MR: Magic ring
- SC: Single crochet
- INC: Increase (2 SC in one stitch)
- DEC: Decrease (SC 2 stitches together)
- FO: Fasten off
Instructions:
First Half of the Heart:
- MR, 6 SC into the ring. (6)
- INC in each stitch around. (12)
- (SC, INC) repeat around. (18)
- (2 SC, INC) repeat around. (24)
- SC in each stitch for 2 rounds. FO and leave a tail.
Second Half of the Heart:
- Repeat steps 1–4 of the first half but do not fasten off.
Joining the Two Halves:
- Place the two halves together with the open ends aligned.
- SC around the edges to join, ensuring you add fiberfill stuffing as you work.
Shaping the Point:
- Once the two halves are joined, use SC decreases (DEC) to form the point of the heart.
- Continue stuffing as needed while shaping.
- Once closed, FO and weave in the ends.
In the end, an easy crochet heart plushie becomes much more than just a small handmade object. It holds intention, warmth, and a quiet kind of beauty that comes from being made slowly, stitch by stitch. Whether it’s kept for yourself or given to someone else, it carries that unmistakable handmade feeling that makes crochet so special.
And honestly, there’s something incredibly satisfying about holding that finished heart in your hands. It’s soft, simple, and full of character, a reminder that even the smallest projects can carry so much meaning when they’re made with care.
Note: Here is a pattern suggestion for you to create your own pattern. The end result may vary.