The dinosaur amigurumi crochet pattern is perfect for anyone looking to create an adorable and colorful plush toy. This pattern allows you to bring to life a charming little dinosaur, complete with vibrant scales and a friendly face. Whether you’re making it as a gift or to add to your own collection, this step-by-step guide will help you crochet a delightful dinosaur that everyone will love.
Besides being absolutely adorable, this project is super therapeutic. You know those days when your mind feels overloaded and all you want is a little moment of peace? That’s exactly how I started this dino. I grabbed my colorful yarn, put on a cozy playlist, and started crocheting — stitch by stitch, I watched him come to life in my hands.
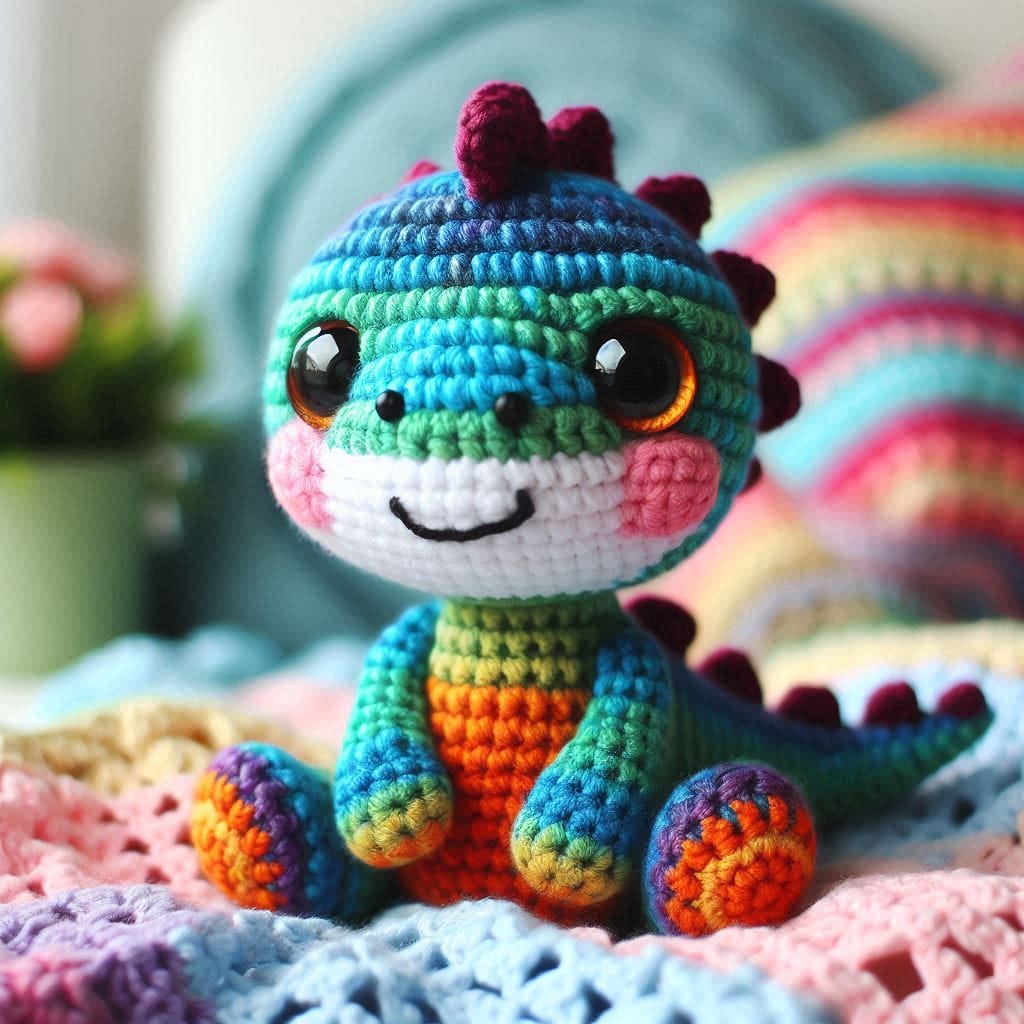
One thing I loved is that you can really play around with the colors. I made this first green one with orange details, but now I’m already dreaming of a purple one with yellow spikes, or a pink one with a tiny embroidered heart on its chest. You could even make a rainbow version!
How to Crochet a Dinosaur Amigurumi
Okay, I had to share this little guy with you — I just finished crocheting the most adorable dinosaur amigurumi and I’m completely in love! If you’re into cute and colorful projects (and who isn’t?), this dino is such a joy to make.
I picked out a bunch of bright, cheerful yarns — I mean, if you’re making a dinosaur, why not make it fabulous, right? I started with the body and head, which are worked together in one piece (super satisfying), and then moved on to the little legs, arms, and that wiggly tail.
To crochet this cute dinosaur amigurumi, you’ll need to choose a variety of brightly colored yarns to give it a playful and lively appearance. Using a matching crochet hook, you’ll start by creating the head and body as one piece, followed by the legs, arms, and tail. The final details, such as the spikes on its back and the embroidered face, will bring your dinosaur to life. By following this detailed guide, you’ll end up with a beautifully crafted dinosaur amigurumi.
Dinosaur Amigurumi. Crochet Pattern:
The spikes on the back were my favorite part — they really make the whole thing pop! And once I added the embroidered face, it suddenly had so much personality. It’s like this dino just wanted to come to life!
Honestly, this pattern is beginner-friendly but still detailed enough to keep things interesting. I made mine as a gift for a friend’s baby, but now I kinda want to make a whole rainbow herd of them just for me
If you’re looking for a project that’s equal parts cute, colorful, and fun, I can totally recommend giving this dinosaur a try! Another cute thing is that it’s the perfect size to be cuddled by kids or used as shelf decor. And honestly… if you sell amigurumi, this is the kind of piece that stands out at any craft fair or online shop. It just has that “made with love” vibe, you know?
Dinosaur Amigurumi. Materials:
- Yarn in various bright colors (blue, green, orange, purple, pink, white).
- 2.5 mm crochet hook.
- Polyester fiberfill for stuffing.
- Safety eyes.
- Tapestry needle.
- Black embroidery thread for details.
Instructions:
Head and Body:
- Start with blue yarn and make a magic ring, crochet 6 sc.
- Increase by 6 sc per round until you reach 36 sc.
- Work 8 rounds of 36 sc to form the head.
- Begin decreasing by 6 sc per round until you reach 18 sc.
- Switch to green yarn and increase to 30 sc.
- Work 6 rounds in sc for the body.
- Switch to orange yarn and crochet 4 rounds in sc.
- Stuff with fiberfill as you go.
Legs (make 2):
- With orange yarn, make a magic ring and crochet 6 sc.
- Increase to 12 sc in the next round.
- Work 4 rounds of 12 sc.
- Switch to green yarn and crochet 3 rounds in sc.
- Finish and stuff lightly, then sew to the body.
Arms (make 2):
- With green yarn, make a magic ring and crochet 6 sc.
- Increase to 9 sc and work 4 rounds.
- Finish and stuff lightly, then attach to the sides of the body.
Tail:
- Start with green yarn, make a magic ring and crochet 6 sc.
- Increase by 3 sc in every other round until you reach 18 sc.
- Work 8 rounds in sc.
- Finish and stuff lightly, then attach to the back of the body.
Spikes:
- With purple yarn, crochet small triangles starting with 2 sc and increasing to 6 sc over 3 rows.
- Make about 5-7 spikes and sew them along the back and tail.
Face Details:
- Attach safety eyes between the 6th and 7th round of the head.
- Use black embroidery thread to sew a small nose and a smile.
- Add small pink circles for cheeks with embroidery or felt.
Oh! And a tip: use high-quality stuffing and take your time sewing the parts together — it makes ALL the difference in the final result. And if you want to add a special touch, you can include a little rattle inside or even a soft lavender scent in the stuffing. It turns out so sweet!
Now I’m super excited thinking about what to make next: maybe a baby dragon? A triceratops? The truth is, once you make one, you won’t want to stop! If you’re looking for a joyful, colorful, and heartwarming project, this dinosaur is simply perfect.