Learn how to make a Cute Crochet Panda with this easy amigurumi pattern! Perfect for beginners, this adorable panda is a delightful handmade creation. As an experienced crocheter, I’ve always had a soft spot for amigurumi, and pandas are such a perfect subject. Their simple color palette and gentle features translate beautifully into crochet, and with just a bit of attention to detail, you can bring out so much personality in such a small piece.
When I begin a panda, the first thing I consider is yarn choice, because contrast is everything in this design. A clean, bright white paired with a deep black creates that classic panda look, and I always try to choose yarns that complement each other in both texture and weight. Cotton is usually my go-to for amigurumi because it gives crisp stitch definition and helps the shapes hold nicely. Since pandas rely on clear color separation, having a yarn that doesn’t fuzz too much makes a big difference in keeping the edges of the colorwork neat.
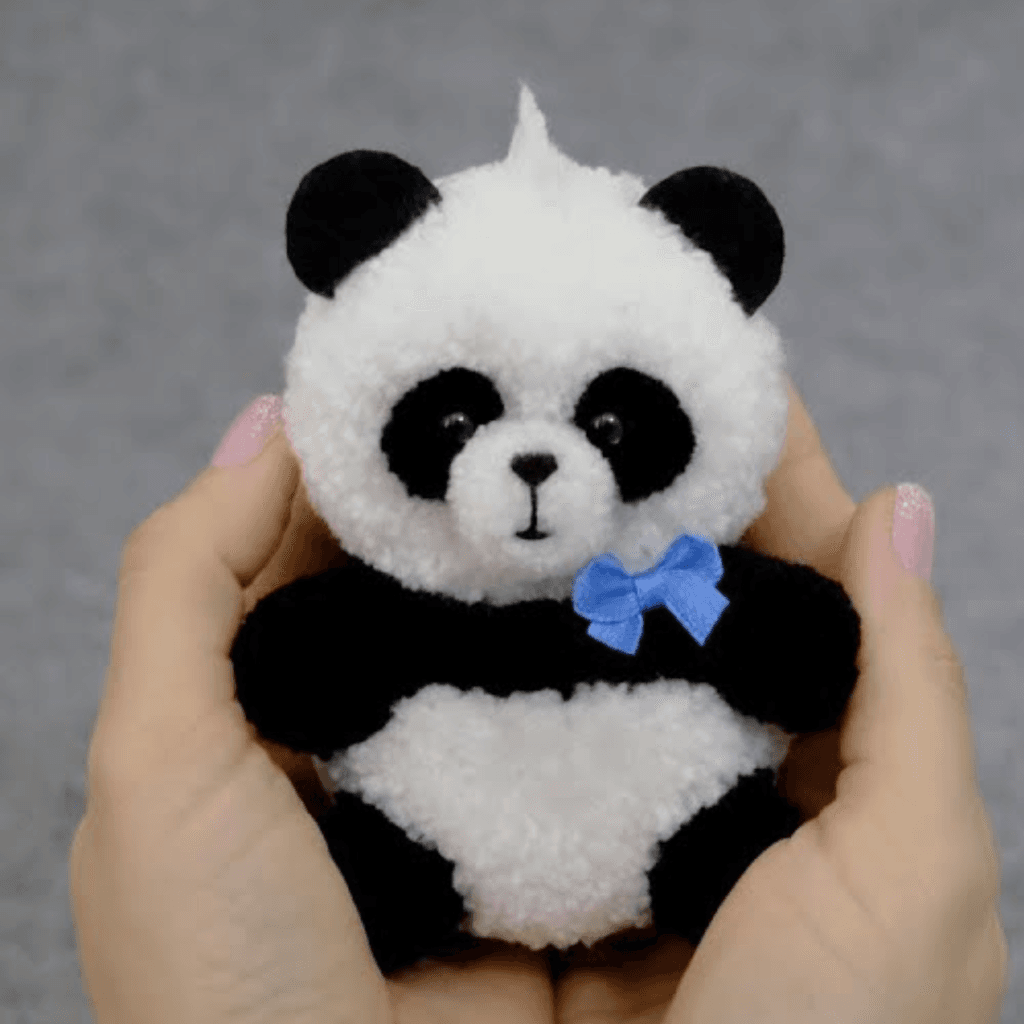
Step-by-Step Guide to Craft Your Cute Crochet Panda
Create your very own Cute Crochet Panda with this detailed pattern. It’s a fun and rewarding project for crafters of all skill levels.
Hook size is another important detail. I typically go down a size or two from what’s recommended on the yarn label. This creates a tighter fabric, which is essential for amigurumi. It keeps the stuffing from showing through and gives the piece a more polished, professional finish. Over time, you develop a feel for how firm the stitches should be, and that intuition really helps when working on small, detailed pieces like this.
Cute Crochet Panda Pattern
The construction usually starts with the head, and this is where I like to take my time. The head is the focal point of the panda, so getting the shape just right is essential. Working in continuous rounds, I focus on even tension and smooth increases. As the piece grows, I begin to see that familiar rounded form taking shape. I always stuff gradually, shaping with my fingers as I go to ensure the surface stays smooth and balanced. A well-shaped head makes everything that follows much easier.
One of the most defining features of a panda is its eye patches, and this is where the design really comes to life. There are a few ways to approach this—color changes, appliqué pieces, or even embroidery. Personally, I often prefer adding the patches separately because it gives me more control over their placement. Positioning is everything here. The patches should sit evenly and frame the eyes in a way that creates that soft, gentle expression pandas are known for.
The eyes themselves are small but incredibly important. I usually use safety eyes for a clean look, placing them carefully within the black patches. Even a slight adjustment can change the expression, so I always take a moment to step back and check before securing them. Sometimes I’ll add a tiny bit of embroidery around the eyes or a small stitched nose to enhance the character without making it too busy.
The body is typically smaller and simpler in shape, but it still requires attention to proportion. I like to keep the body slightly rounded and compact, which adds to that cute, stylized look. As I work, I make sure the transitions between the head and body feel natural. The goal is to create a piece that looks cohesive and balanced, even though it’s made in separate parts.
Materials:
- Yarn: Black and white (medium-weight)
- Hook: 3.0 mm crochet hook
- Safety eyes: 8 mm
- Polyfill stuffing
- Yarn needle
- Stitch marker
Abbreviations:
- MR: Magic ring
- sc: Single crochet
- inc: Increase (2 sc in the same stitch)
- dec: Decrease (single crochet two stitches together)
- sl st: Slip stitch
Pattern Instructions:
Head and Body (Worked as One Piece):
- Round 1: MR, 6 sc into the ring. (6)
- Round 2: Inc in each stitch around. (12)
- Round 3: [1 sc, inc] repeat around. (18)
- Round 4: [2 sc, inc] repeat around. (24)
- Rounds 5-8: Sc in each stitch around. (24)
- Round 9: [2 sc, dec] repeat around. (18)
- Round 10: [1 sc, dec] repeat around. (12)
- Stuff the head firmly.
- Round 11: [1 sc, inc] repeat around. (18)
- Rounds 12-15: Sc in each stitch around. (18)
- Round 16: [1 sc, dec] repeat around. (12)
- Stuff the body and close with a sl st. Fasten off.
Arms (Make 2):
- Round 1: MR, 6 sc into the ring. (6)
- Round 2: [1 sc, inc] repeat around. (9)
- Rounds 3-5: Sc in each stitch around. (9)
- Stuff lightly and close with a sl st. Leave a tail for sewing.
Legs (Make 2):
- Round 1: MR, 6 sc into the ring. (6)
- Round 2: [1 sc, inc] repeat around. (9)
- Rounds 3-4: Sc in each stitch around. (9)
- Stuff lightly and close with a sl st. Leave a tail for sewing.
Ears (Make 2):
- Round 1: MR, 6 sc into the ring. (6)
- Round 2: [1 sc, inc] repeat around. (9)
- Close with a sl st and leave a tail for sewing.
Face Details:
- Attach safety eyes to the head.
- Use black yarn to embroider the nose and mouth.
Assembly:
- Sew the arms and legs to the body.
- Attach the ears to the head.
- Embroider or attach patches around the eyes for a classic panda look.
Final Thoughts
Even after years of crocheting, projects like this continue to bring me joy. They remind me that crochet is not just about technique, but about expression. A simple combination of yarn and stitches can become something full of life and character.
In the end, creating a Cute Crochet Panda is about enjoying the process as much as the result. It’s about taking the time to shape each detail, to refine each feature, and to bring a small, charming character to life with your own hands. And when you finally finish, there’s that familiar sense of satisfaction—knowing that something so sweet and full of personality came from your own skill and creativity.
Your Cute Crochet Panda is now complete! This lovable project makes for a charming gift or a sweet addition to your amigurumi collection. Enjoy crafting!