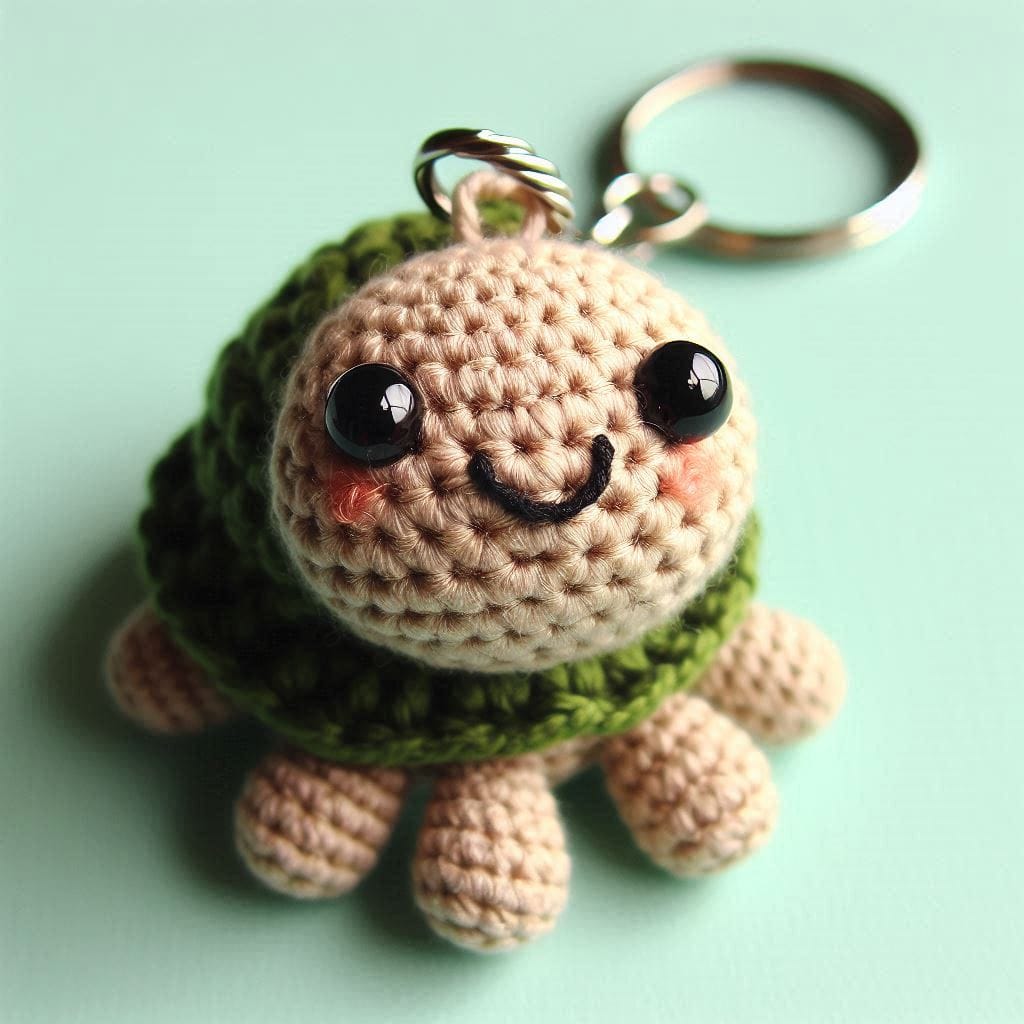
The crochet turtle keychain is an adorable and practical accessory for your keys or bag. Its charming and compact design makes it a fun and personal gift idea. With its tiny body, cute eyes, and detailed shell, this crochet turtle will add a touch of creativity to your everyday essentials.
How to Make a Crochet Turtle Keychain
Making this crochet turtle keychain is not only a delightful craft project but also a wonderful way to create something special for yourself or a loved one. With easy-to-follow instructions, this tiny turtle will brighten anyone’s day.
Detailed Recipe:
Materials Needed:
Yarn in beige (for the body), green (for the shell), and black (for the eyes and mouth)
Small crochet hook (size suitable for your yarn)
Keychain ring
Fiber stuffing
Tapestry needle
Step 1: Body
Start with beige yarn. Make a magic circle and crochet in the round, gradually increasing until you form a ball shape. Leave an opening to stuff the body before closing it.
Step 2: Shell
Using green yarn, crochet another ball-like shape for the shell, slightly larger than the body. Attach it to the top of the body, leaving room for the head to peek out.
Step 3: Head and Legs
With beige yarn, crochet a small sphere for the head and little cylindrical shapes for the legs. Sew them onto the body securely. Use black yarn to stitch the eyes and mouth.
Step 4: Assembly
Attach the head and legs to the body. Sew a keychain ring to the top of the turtle’s shell, ensuring it is secure.
Step 5: Finishing Touches
Add fiber stuffing to any remaining open sections to give the turtle a plush appearance. Sew up all openings, and your crochet turtle keychain is complete!
Note: Here is a pattern suggestion for you to create your own pattern. The end result may vary.