Crochet a stunning star ornament to brighten your holiday decorations! This intricate yet simple-to-make design will add a touch of handmade magic to your tree.
How to Make a Crochet Star Ornament
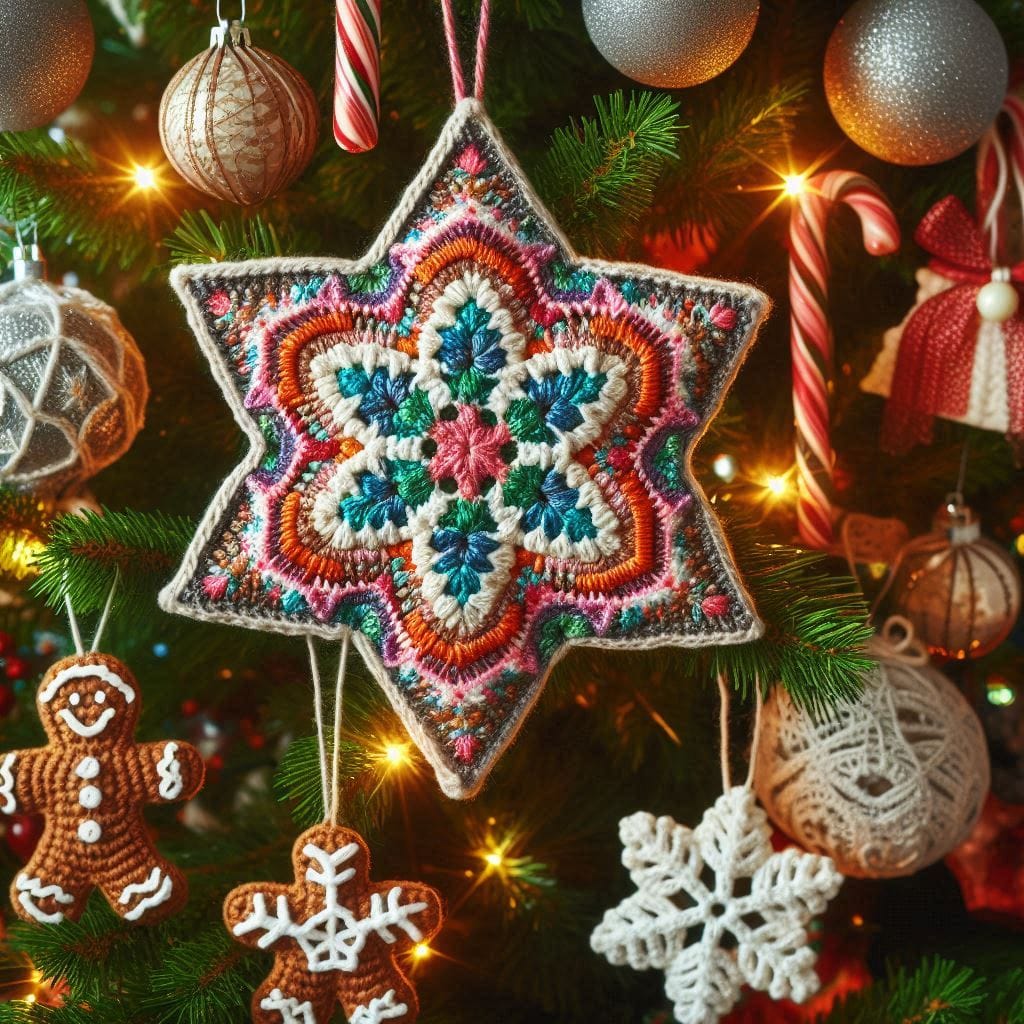
This festive star ornament features layered colors and texture, making it an eye-catching centerpiece for your Christmas tree. Follow this detailed guide to create your own!
The Crochet Star Ornament is a versatile and beautiful addition to any holiday décor. You can customize it with your favorite colors to match your style.
Round 1: Chain 3 (counts as the first double crochet – DC), work 11 DC into the ring. Slip stitch to close (12 stitches).
First Layer of Star Points:
Round 2: Chain 1, single crochet (SC) in the same stitch, chain 3. Skip the next stitch, SC in the next. Repeat around. Slip stitch to close (6 chain spaces).
Second Layer (Building Points):
In each chain space: [SC, half double crochet (HDC), DC, HDC, SC]. Repeat in all chain spaces to form 6 points. Fasten off.
Add Color Layers:
Attach a new color yarn. Chain 1, SC in each stitch around, adding picots (chain 3, slip stitch back to the first chain) at the tip of each point for detail.
Final Touches:
Continue layering colors by repeating the star point process, increasing the stitch height (e.g., using treble crochet for larger stars).
Finish with a border of slip stitches in a contrasting color.
Blocking (Optional):
Gently block your star to give it a crisp shape. Use starch spray if you want it to hold its form firmly.
Hanging Loop:
Chain 10, attach to the top point of your star with a slip stitch, and fasten off.
Note: Here is a pattern suggestion for you to create your own pattern. The end result may vary.