Crochet Mini Rose Bouquet. Add charm to your crafts with a crochet mini rose bouquet! Perfect as a gift or decoration, this project is quick and beginner-friendly. There’s something so timeless about roses, and translating that elegance into crochet, in such a small scale, feels incredibly rewarding. It’s not just about making individual flowers, it’s about composing something soft, romantic, and full of intention, stitch by stitch.
Each rose starts as a simple strip, often worked in rows with a combination of stitches that create a gentle curve along one edge. That curve is what allows the strip to roll naturally into a spiral, forming the petals. It’s a technique I never get tired of, because the transformation is so satisfying. You begin with something flat and unassuming, and with a careful roll and a few securing stitches, it becomes a soft, blooming rose.
How to Make a Crochet Mini Rose Bouquet
Crocheting a mini rose bouquet is an enjoyable project. Using simple stitches, you can create delicate roses and stems to form a charming bouquet. These tiny flowers are ideal for embellishing gifts, home décor, or even as a thoughtful handmade keepsake.
Your crochet mini rose bouquet is complete! Customize the colors and size to make each bouquet unique. Enjoy sharing or displaying your beautiful creation.
Choosing the right yarn makes a big difference in how the roses turn out. I tend to favor lightweight cotton yarn for this kind of project, because it holds its shape beautifully and gives each stitch a clean, defined look. The colors are where the bouquet truly comes to life. Soft pinks, deep reds, creamy whites, and even gentle peach tones can be combined to create a natural, harmonious arrangement. Sometimes I like to mix shades within a single bouquet, allowing each rose to stand out while still feeling part of a cohesive whole.
Detailed Recipe: Crochet Mini Rose Bouquet
As I finish each rose, I secure the base carefully, making sure the spiral stays in place. I usually stitch through the layers at the bottom, keeping everything tight and neat. This is one of those steps where patience really pays off. A well-secured rose will hold its shape beautifully and look more refined. I also take a moment to gently adjust the petals with my fingers, opening them slightly or tightening them depending on the look I want.
The stems are what bring structure to the bouquet, and I often use floral wire wrapped in yarn or thread to create them. This gives the bouquet flexibility while still allowing it to hold its shape. I attach each rose to its stem securely, making sure it sits straight and balanced. Wrapping the wire with green yarn adds a clean finish and ties everything together visually. It’s a simple technique, but it adds so much to the overall presentation.
Leaves are another detail I always enjoy adding. A small crocheted leaf, worked with a few chains and stitches, can make each rose feel more complete. I usually attach one or two leaves to each stem, positioning them carefully so they frame the flower without overwhelming it. The green tones provide a beautiful contrast to the petals and help give the bouquet that natural, garden-like feel.
Once all the individual elements are ready, assembling the bouquet is a moment I truly enjoy. I gather the stems together, adjusting their lengths and positions until the arrangement feels balanced. This part is almost like arranging real flowers. You want a mix of heights and angles, something that feels organic rather than too uniform. I often hold the bouquet in my hand and turn it slightly, checking how it looks from different sides before securing it.
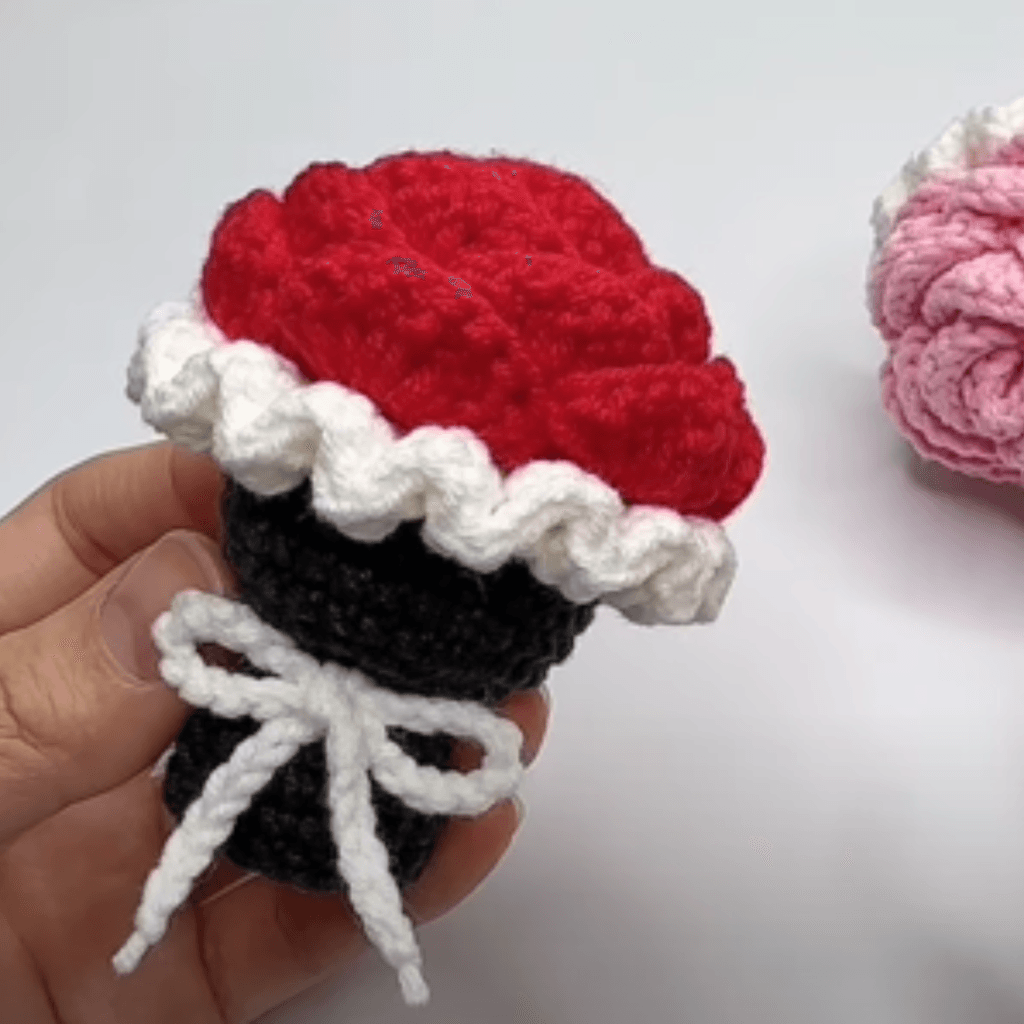
To finish the bouquet, I wrap the stems together, sometimes with yarn, ribbon, or even a small piece of fabric. This not only holds everything in place but also adds a decorative touch. A soft ribbon tied into a bow can make the bouquet feel even more special, giving it that finished, gift-like quality. It’s a small detail, but it makes a big difference in how the piece is presented.
Materials:
- Yarn: Red, pink, and green cotton yarn (lightweight).
- Hook: 2.5mm crochet hook.
- Floral wire (optional for stems).
- Yarn needle.
- Scissors.
Abbreviations (US terms):
- MR: Magic ring
- SC: Single crochet
- HDC: Half double crochet
- DC: Double crochet
- INC: Increase (2 SC in the same stitch)
- CH: Chain
- SL ST: Slip stitch
- FO: Fasten off
Instructions:
Rose Petals
- CH 26.
- Row 1: Starting in the 2nd CH from the hook, SC in each CH across. (25)
- Row 2: (CH 2, 2 DC in the next stitch, CH 2, SL ST in the next stitch) repeat across to create petals.
- Roll the strip into a rose shape and sew the base to secure. FO.
Leaves
- CH 8.
- Row 1: SC in 2nd CH from hook, HDC in next, DC in next 3, HDC in next, SC in last.
- Rotate to work on the other side of the chain: SC, HDC, DC in next 3, HDC, SC. FO, leaving a tail for sewing.
Stem
- Cut floral wire to desired length.
- Wrap green yarn around the wire tightly, securing the ends with glue or thread. Alternatively, CH to match the stem length, SC back along the chain, and attach.
Assembly
- Attach leaves to the stem near the base of the rose.
- Create multiple roses and leaves to form a bouquet.
- Wrap yarn or ribbon around the stems to secure them together.
Finishing is always done with care. I make sure all ends are neatly woven in and that every attachment is secure. I gently shape the bouquet one last time, adjusting the petals and leaves so everything looks balanced and natural. These final touches are what give the piece that polished, handmade quality.
In the end, a crochet mini rose bouquet becomes more than just a collection of small flowers. It becomes a piece filled with softness, detail, and intention. It captures the beauty of roses in a way that lasts, turning yarn into something that feels both delicate and enduring.
And honestly, there’s something incredibly satisfying about holding that finished bouquet in your hands. It’s light, elegant, and full of charm, a reminder that even the smallest stitches, when brought together with care, can create something truly beautiful and meaningful.