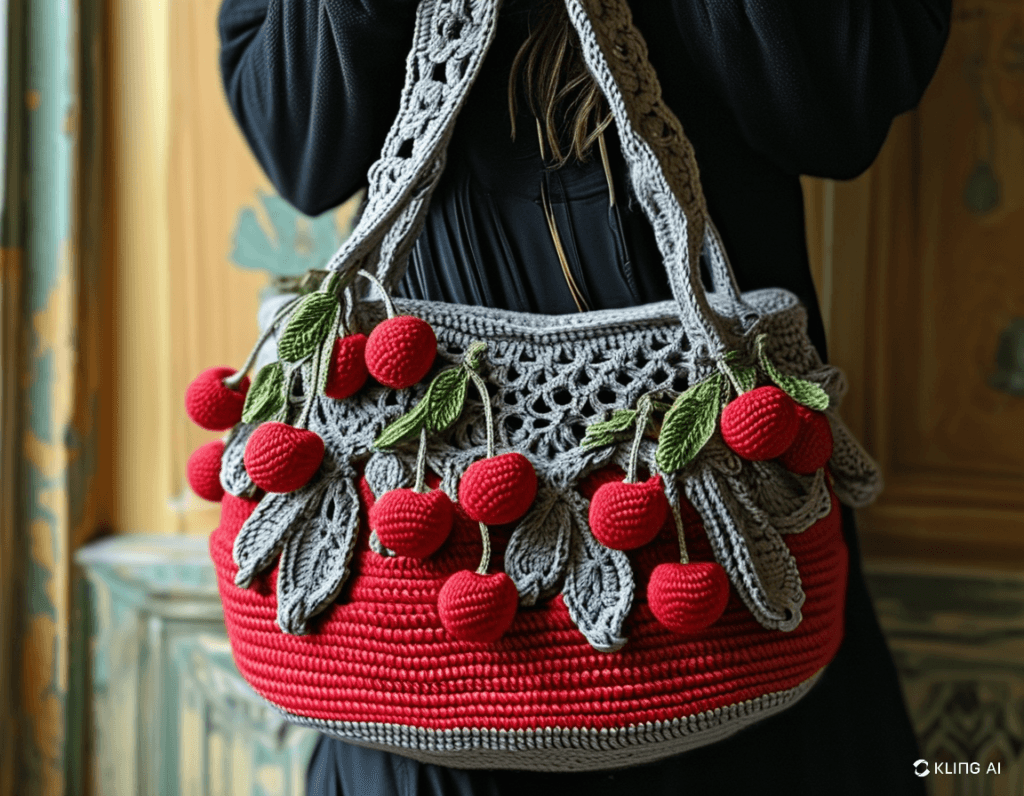
This delightful crochet cherry bag is perfect for adding a splash of whimsy to your outfit. The intricate details, from the bright red cherries to the textured leaves, make it a standout piece. Ideal for anyone who loves unique, handcrafted fashion, this bag combines practicality with playful charm.
How to Crochet a Cherry Bag
If you’d like to create your own Crochet Cherry Bag, you’ll need a mix of basic stitches and some decorative techniques for the cherries and leaves. Below is a simple pattern to get you started.
Crochet Cherry Bag Pattern
Materials:
Red, green, and gray yarn (worsted weight)
4.5 mm crochet hook
Stitch marker
Scissors
Tapestry needle
Bag lining fabric (optional)
Abbreviations:
ch: chain
sc: single crochet
dc: double crochet
sl st: slip stitch
st: stitch
Bag Base
Base Foundation:
Ch 35 (or adjust according to your desired bag size).
Round 1:
Sc in the 2nd ch from the hook, sc across, 3 sc in the last ch, continue on the opposite side of the chain, sc across, 3 sc in the last st. Place a stitch marker and continue in rounds.
Rounds 2-6:
Sc around, increasing 3 sts at each end for the oval shape. Adjust as necessary for size.
Body of the Bag:
Continue sc around without increasing for about 25 rounds or until the bag reaches your desired height.
Bag Top (Gray Lattice Section)
Row 1:
Switch to gray yarn. Dc in each st around.
Row 2:
Ch 4, skip 2 sts, dc in the next st, ch 2. Repeat around to create a mesh pattern.
Rows 3-6:
Continue the mesh pattern. Adjust height depending on preference.
Cherries
Magic Ring:
Using red yarn, make a magic ring, 6 sc into the ring.
Round 1:
2 sc in each st around (12 sts).
Rounds 2-4:
Sc around for 3 rounds.
Round 5:
Sc2tog around to close. Stuff lightly before closing completely.
Leaves
Ch 15:
Sc in 2nd ch from the hook, hdc, dc in next 10 ch, hdc, sc. Sl st in the last ch. Fasten off and leave a tail for sewing.
Assembly
Attach the cherries and leaves to the gray lattice section of the bag using the tapestry needle.
Optionally, line the bag with fabric for extra durability.
Now you have a playful crochet cherry bag that’s perfect for any occasion!
Note: Here is a pattern suggestion for you to create your own pattern. The end result may vary.