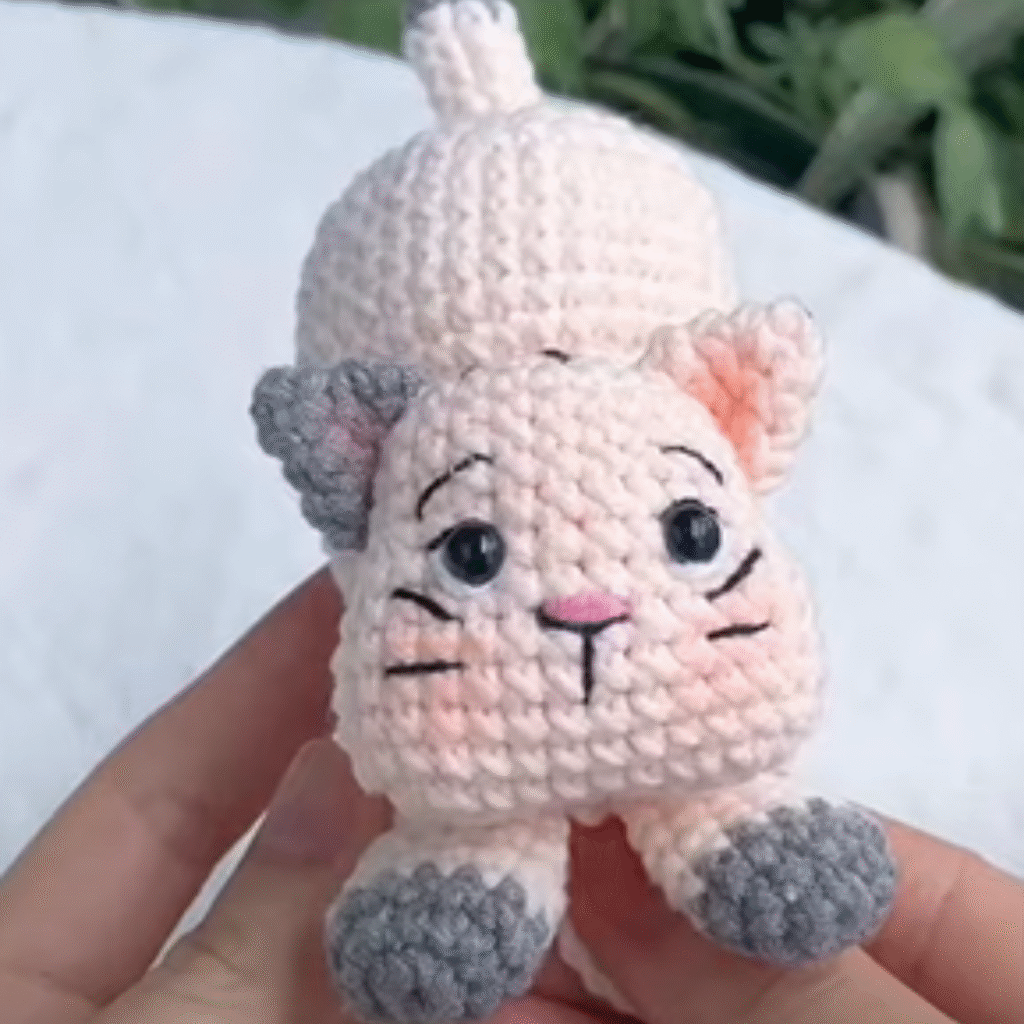
Looking for a fun and functional crochet project? This Crochet Cat Keycover Easy tutorial is perfect for beginners who want to protect their keys in a cute way! With simple stitches and a charming cat design, this keycover adds personality to your everyday essentials.
Once the base is established, I start building the body of the cat, which is usually worked upward in continuous rounds. This creates a seamless look and keeps everything neat and compact. I focus on maintaining even tension throughout, because with a project this small, any inconsistency becomes noticeable very quickly. The shaping is subtle, just enough to give a gentle curve that suggests a little head or body without adding unnecessary bulk.
Creating a crochet cat keycover is one of those small, satisfying projects that I always come back to, even after years of working on more complex pieces. There’s something incredibly comforting about making something simple, practical, and full of personality all at once. A keycover might seem like a tiny accessory, but when you shape it into a little cat, it instantly becomes something special, something that brings a bit of warmth and charm into everyday life.
What I love most about making a crochet cat keycover is how it turns an ordinary object into something personal and meaningful. It’s a quick project, but it carries that same sense of care and creativity as larger pieces. It’s also a wonderful way to practice precision and attention to detail, skills that carry over into more complex work.
Crochet Cat Keycover Easy for Beginners
This Crochet Cat Keycover Easy pattern is designed for crocheters of all levels. Whether you’re making it for yourself or as a gift, this adorable accessory is sure to bring smiles. Customize it with your favorite yarn colors and give your keys a touch of handmade charm.
Now that you’ve learned how to make a Crochet Cat Keycover Easy, try experimenting with different colors and facial expressions for variety. These are great for gifting, craft fairs, or just to add a bit of whimsy to your daily routine!
I usually begin with the base that will fit over the key head, and this part is all about getting the sizing just right. Every key can be slightly different, so I tend to work a small swatch in the round and adjust as needed. Using a smaller hook than recommended helps keep the stitches tight and secure, which is especially important for something that will be handled often. The fabric needs to be firm enough to hold its shape while still being flexible enough to slip onto the key without stretching out too much over time.
Crochet Cat Keycover Easy – Detailed Pattern:
The ears are one of my favorite details to add, and they’re surprisingly impactful for such a small feature. I usually crochet them separately as tiny triangles and then attach them carefully to the top of the cover. Placement is key here, so I always pin them in place first and adjust until they look balanced. Even a slight tilt can change the expression of the cat, making it look curious, sleepy, or playful. Once I’m happy with the positioning, I secure them firmly, making sure they’ll hold up to regular use.
The face is where the personality truly comes through, and I always take my time with this step. Because the surface is so small, I prefer to embroider the features using a fine thread or lightweight yarn. Simple details like small eyes, a tiny nose, and delicate whiskers can transform the piece completely. I keep the stitches clean and precise, often marking the placement lightly before stitching to ensure everything is centered and balanced. It’s a small area, but it makes all the difference.
One of the things I’ve learned over time is that less is more with a project like this. It’s easy to want to add extra details, but keeping the design simple allows the shape and features to shine. A clean, minimal look not only feels more polished but also holds up better with everyday use. Since this is something that will be handled frequently, durability is just as important as appearance.
Materials:
- 2.5 mm crochet hook
- Small amounts of cotton yarn (light worsted weight) in cat color, pink (for ears/nose), and black (for details)
- Yarn needle
- Scissors
- Key ring
Abbreviations:
- MR = Magic Ring
- SC = Single Crochet
- INC = Increase (2 SC in same stitch)
- DEC = Decrease (SC 2 stitches together)
- SL ST = Slip Stitch
- CH = Chain
Head/Body (Make 2):
With cat-colored yarn:
- MR, 6 SC into ring (6)
- INC in each stitch around (12)
- (SC, INC) x6 (18)
- (2 SC, INC) x6 (24)
5–10. SC around (24)
Fasten off one piece. Do not fasten off the second.
Place both pieces together and SC through both layers to join all around (you’ll make a circle “pouch”). Leave a small hole at the bottom for inserting the key.
Ears (Make 2):
- CH 2, work 3 SC in 2nd CH from hook.
- Turn, INC in each stitch (6)
Fasten off, sew to top corners of the head.
Nose:
With pink yarn:
- Sew a small triangle shape using a yarn needle.
Eyes and Mouth:
Use black yarn or safety eyes. For embroidery, stitch two small ovals and a curved mouth.
Assembly
- Attach ears, embroider facial features.
- Insert key ring through bottom opening.
- Optionally, sew a button loop to close the key slot.
In the end, this little cat keycover becomes more than just a practical item. It’s a small expression of creativity, something that adds a touch of joy to everyday routines. Whether it’s made for yourself or as a thoughtful gift, it has that unmistakable handmade charm that only crochet can offer. And honestly, there’s something very satisfying about reaching for your keys and seeing that tiny, carefully crafted cat looking back at you, knowing it was made stitch by stitch with your own hands.
Note: Here is a pattern suggestion for you to create your own pattern. The end result may vary.