Creating a crochet baby mini dress is a fun and rewarding project. This tutorial will guide you through each step to craft a beautiful handmade dress. Creating a Crochet Baby piece is one of the most heartfelt and meaningful projects you can take on as a crocheter.
As someone with years of experience, I can say that there’s something truly special about working on items intended for babies. Every stitch feels more intentional, more delicate, and filled with care. Whether it’s a tiny garment, a soft blanket, or a small amigurumi, the process naturally slows you down in the best way, inviting you to focus on comfort, safety, and softness above all else.
The very first thing I consider when starting any crochet baby project is yarn. This choice is absolutely essential. Baby skin is incredibly sensitive, so I always reach for yarns specifically labeled as baby-friendly. Soft cotton is one of my favorites because it’s breathable, gentle, and holds its shape well. High-quality acrylic blends designed for babies are also a great option, offering both softness and durability. I avoid anything too rough or textured, and I’m careful with fibers that may shed. The goal is to create something that feels smooth and comforting against delicate skin.
Step-by-Step Crochet Baby Mini Dress Tutorial
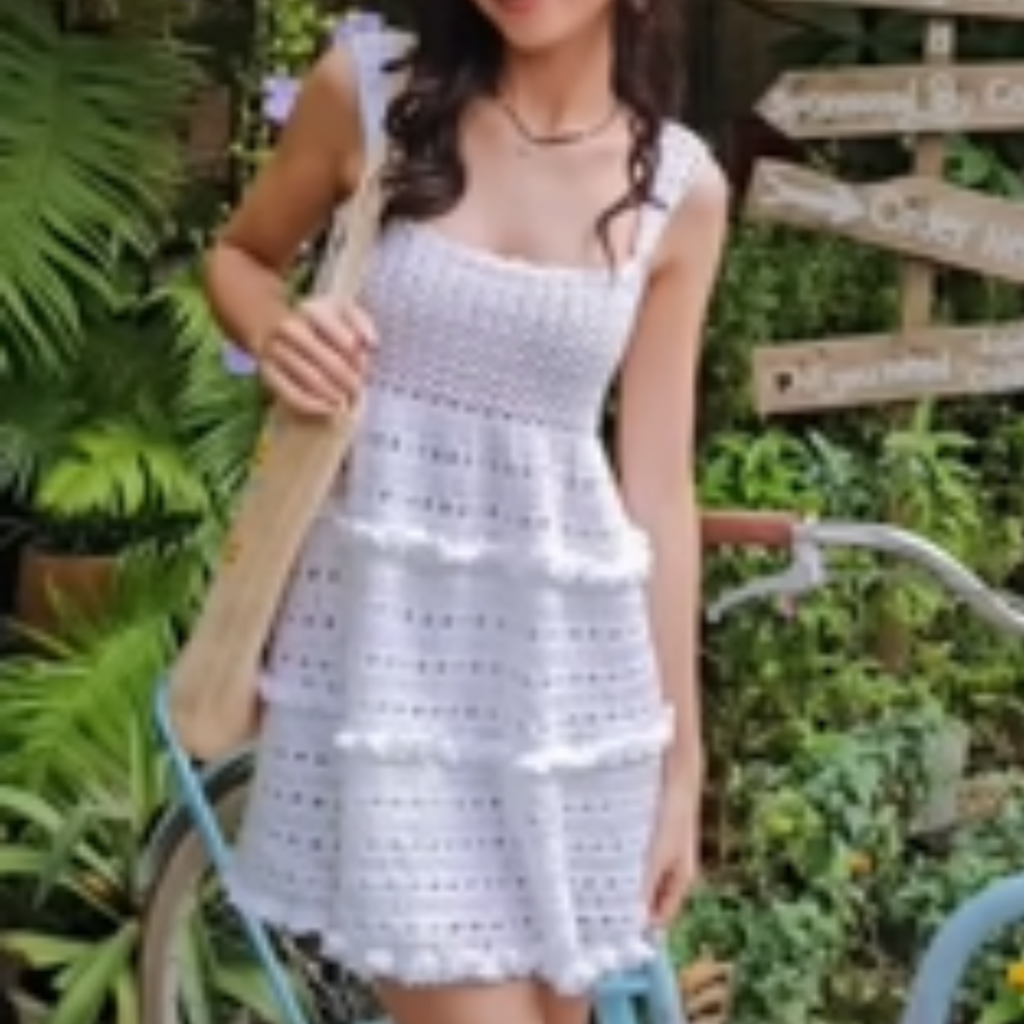
This crochet baby mini dress is soft, stylish, and perfect for any occasion. Whether for a baby shower or a special outfit, it’s a charming handmade piece.
This crochet baby mini dress tutorial is beginner-friendly and fun to make. Customize the colors and details to create a unique and adorable baby outfit!
Color selection also plays an important role in the overall feel of the piece. Soft, soothing tones—like pastels, creams, and light neutrals—are often my go-to choices. They give the finished item a calm and timeless look. That said, I also enjoy adding subtle pops of color or gentle contrasts to bring a bit of personality into the design. The key is to keep everything harmonious and not overwhelming, allowing the softness of the piece to remain the focus.
Crochet Baby Mini Dress Tutorial
Hook size is another detail I pay close attention to. For baby items, I usually follow the yarn recommendation closely, sometimes adjusting slightly to ensure the fabric is neither too tight nor too loose. A fabric that’s too tight can feel stiff, while one that’s too loose may not provide enough warmth or structure. Finding that balance is something that comes with experience, and it makes a big difference in the final result.
The construction of a crochet baby piece varies depending on what you’re making, but the approach remains the same: steady, careful, and attentive. Whether I’m working in rows or rounds, I focus on maintaining even tension and clean edges. These details might seem small, but they contribute to a polished, professional finish. I often find myself checking my work as I go, making sure everything is aligned and consistent.
If I’m working on a baby garment, fit becomes especially important. Babies grow quickly, so I like to build in a bit of flexibility, ensuring the piece is comfortable without being too tight. Stretchy stitches or thoughtful shaping can make a big difference here. For blankets or accessories, I focus more on texture and drape, creating something that feels cozy and inviting.
One of the most enjoyable aspects of crochet baby projects is the opportunity to add gentle details. Small touches like a simple edging, a delicate stitch pattern, or a tiny embellishment can elevate the piece without making it overly complicated. I tend to keep things subtle, especially for baby items, as simplicity often feels more elegant and appropriate.
Materials:
- Soft baby yarn (DK or worsted weight)
- Crochet hook (4mm or 5mm)
- Scissors
- Yarn needle
- Stitch markers
- Buttons (optional)
Abbreviations (US Terms):
- CH = Chain
- SC = Single Crochet
- HDC = Half Double Crochet
- DC = Double Crochet
- SL ST = Slip Stitch
- INC = Increase
- FO = Fasten Off
Instructions:
Top Section:
- Foundation Row: CH 52 (or adjust to desired width), join with SL ST to form a ring.
- Row 1: CH 2 (counts as first HDC), HDC in each stitch around. Join.
- Rows 2-6: Repeat Row 1.
Skirt Section:
4. Row 7: CH 2, 2 DC in the next stitch, DC in the next stitch, repeat around. Join.
5. Rows 8-15: DC in each stitch around. Adjust length if needed.
Finishing:
6. Last Row: CH 1, SC in each stitch around for a clean edge. Join and FO.
7. Attach buttons or embellishments if desired. Weave in all ends.
As I move toward the finishing stages, I slow down even more. This is where I refine the piece, checking every detail and making small adjustments if needed. I weave in all ends carefully, ensuring they’re secure and hidden. If the project benefits from it, I might lightly block it to even out the stitches and enhance its shape. These final steps are what give the piece that polished, finished look.
What I love most about creating a crochet baby item is the feeling behind it. It’s not just about the technique or the finished product—it’s about the intention. Every stitch carries a sense of care and warmth, and that’s something you can truly feel when the piece is complete. It’s a reminder of why handmade items are so special, especially for little ones.
Over the years, I’ve made many crochet baby pieces, and each one feels unique. Even when following the same pattern, small variations in tension, color, and detail make every project different. That’s part of the beauty of crochet—it allows you to create something personal and meaningful every time.
In the end, creating a Crochet Baby piece is about more than just making something soft and functional. It’s about slowing down, paying attention to the details, and putting care into every step of the process. It’s about creating something that will be held, used, and cherished. And when you finally finish, there’s a quiet sense of satisfaction that comes from knowing you’ve made something truly special, one stitch at a time.
Note: Here is a pattern suggestion for you to create your own pattern. The end result may vary.