Crochet Amigurumi Easy Tiny Bunny. If you love quick and adorable crochet projects, this Crochet Amigurumi Easy Tiny Bunny is perfect! It’s small, cute, and makes a great handmade gift. Creating an easy tiny bunny amigurumi is one of those projects that feels like a quiet little joy from beginning to end, especially when you’ve been crocheting for years and have learned to appreciate the beauty of small, thoughtful pieces.
There’s something incredibly satisfying about working on a miniature scale, where every stitch matters and even the simplest shaping can bring so much personality to life. It’s the kind of project I reach for when I want something calming, quick, and full of charm.
I usually begin with the body, often working it in continuous rounds so everything feels seamless and cohesive. With a tiny piece like this, I always choose a smaller hook than the yarn recommends. This keeps the stitches tight and neat, which is essential for maintaining the shape and preventing the stuffing from showing through. As I work through the first few rounds, I focus on creating a soft, rounded base that will form the bunny’s body. The shaping is simple, but it needs to be smooth and even, so I take my time and keep my tension consistent.
How to Make a Crochet Amigurumi Easy Tiny Bunny
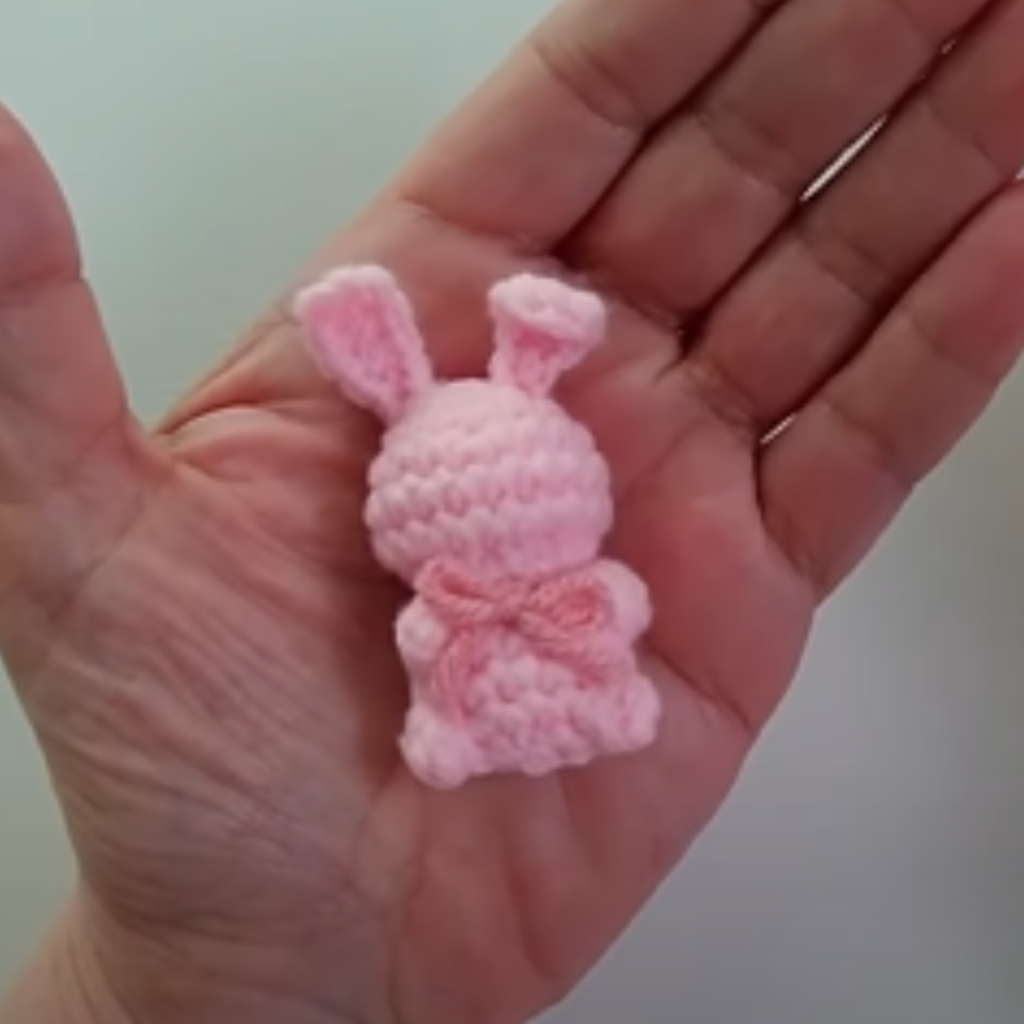
This tiny bunny is simple to crochet, requiring only basic stitches. Add a little bow for a charming touch, making it ideal for Easter or as a cute keepsake. Your Crochet Amigurumi Easy Tiny Bunny is now complete! Perfect as a gift, keychain, or decoration. Try making them in different colors for variety.
The choice of yarn can completely change the feel of the finished bunny. I tend to gravitate toward soft cotton or a fine acrylic blend, something that holds its shape well but still feels gentle to the touch. Light, neutral tones like cream, soft gray, or pale beige give the bunny a delicate, classic look, but pastel shades can add a playful touch that feels just as lovely. Because the piece is so small, it’s also a perfect opportunity to use leftover yarn from other projects, which makes it both practical and satisfying.
Stuffing such a tiny amigurumi requires a bit of patience. I add small amounts at a time, using my fingers or a tool to gently push the filling into place. The goal is to keep the bunny firm enough to hold its shape, but not so tightly stuffed that it loses that soft, cuddly feel. It’s a delicate balance, and one that becomes easier with experience. I always take a moment to shape the body with my hands, smoothing out any uneven areas before moving on.
Crochet Amigurumi Easy Tiny Bunny – Free Pattern
The head is often worked as part of the same piece or attached later, depending on the pattern. Either way, I focus on keeping the proportions just right. For a tiny bunny, the head is usually slightly larger than the body, giving it that sweet, endearing look. As I shape it, I pay close attention to the curve and fullness, making sure it feels balanced and natural.
The ears are one of my favorite parts of this project. They’re small, simple, and incredibly expressive. I usually crochet them separately, working just a few rows to create a soft, narrow shape. Sometimes I leave them straight, and other times I gently fold or curve them to add a bit of character. Placement is key, so I always pin them in place first and adjust until they look just right. Even the slightest change can give the bunny a completely different personality.
The facial features are where everything truly comes together. With a piece this small, I prefer to embroider the details using a fine thread or lightweight yarn. Tiny eyes, a small nose, and perhaps a subtle mouth are all you need to create a gentle, friendly expression. I always take my time with this step, marking the placement lightly before stitching to ensure everything is centered and balanced. It’s a delicate process, but it’s also one of the most rewarding parts of making amigurumi.
Assembling the bunny is a step I approach with care, even though the piece is simple. I make sure all parts are securely attached and that the proportions feel harmonious. I also double-check that there are no loose ends or uneven stitches, as these small details can stand out more on a miniature project.
Materials:
- DK or worsted weight yarn in pink
- 2.5 mm crochet hook
- Fiberfill stuffing
- Tapestry needle
- Scissors
- Ribbon for decoration
Abbreviations (US Terms):
- MR – Magic Ring
- SC – Single Crochet
- INC – Increase (2 SC in one stitch)
- DEC – Decrease (SC2TOG)
- SL ST – Slip Stitch
- CH – Chain
- FO – Fasten Off
Body & Head (worked in one piece):
- MR, 6 SC (6)
- INC around (12)
- (SC, INC) * 6 (18)
4-6. SC around (18) - (SC, DEC) * 6 (12)
- SC around (12)
- (SC, INC) * 6 (18)
10-12. SC around (18) - (SC, DEC) * 6 (12)
Stuff the bunny. - DEC around (6)
FO, weave the ends.
Ears (Make 2):
- CH 6
- SC in 2nd CH from hook, SC across (5)
3-5. SC across (5)
FO, leaving a long tail to sew.
Attach the ears to the head.
Arms & Legs (Make 4):
- MR, 6 SC (6)
2-3. SC around (6)
FO, leaving a tail to sew.
Sew the arms and legs to the body.
Finishing Touches:
- Tie a tiny ribbon around the bunny’s neck or back.
- Shape the ears to stand up.
- Use different yarn colors for a personalized look.
Sometimes I like to add a tiny tail, just a small round piece or a simple bobble stitched onto the back. It’s a subtle detail, but it adds a lovely finishing touch that completes the look. Again, simplicity is key, and I try not to overcomplicate the design.
Finishing is something I never rush. I carefully weave in all ends, making sure the piece looks neat from every angle. I also gently shape the bunny with my hands, smoothing the stitches and adjusting the stuffing if needed. If I’ve used cotton yarn, I might lightly steam the piece from a distance to help the fibers settle and give it a polished appearance.
Note: Here is a pattern suggestion for you to create your own pattern. The end result may vary.