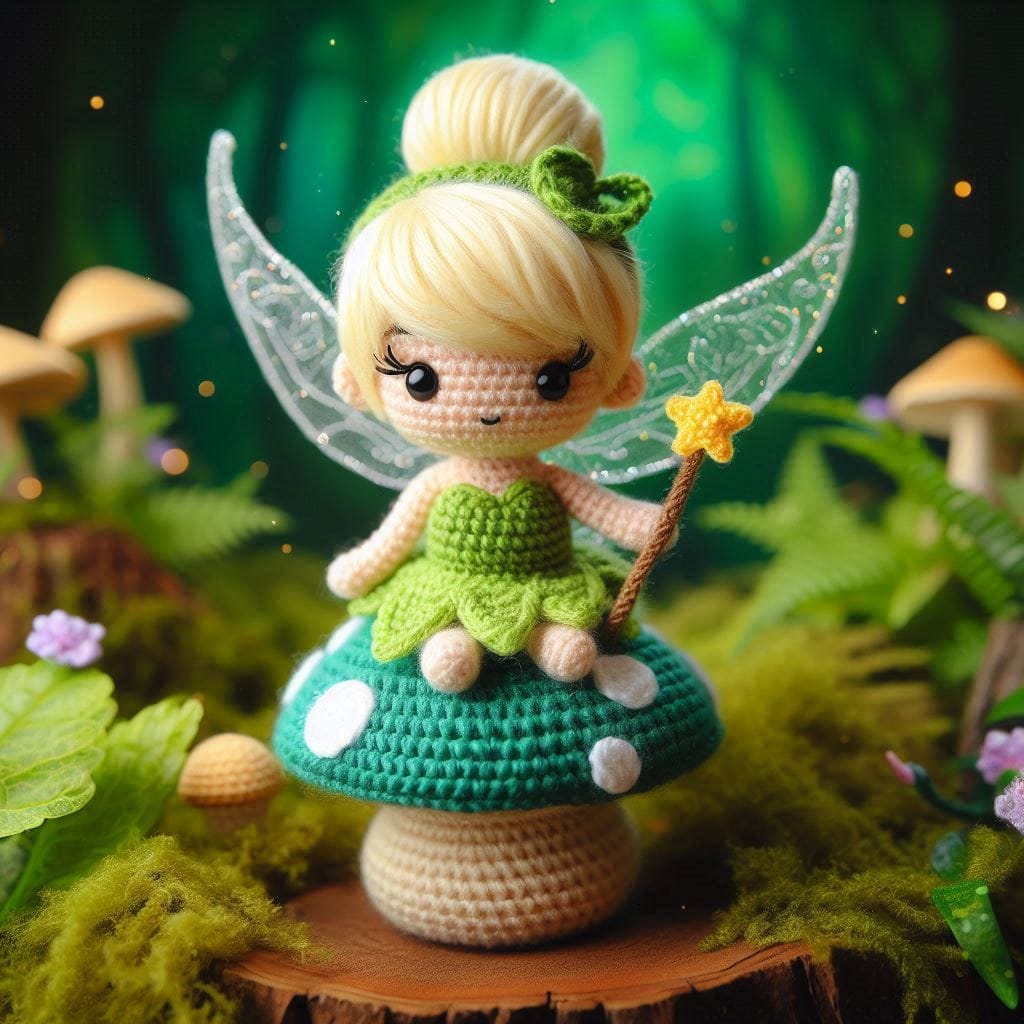
Creating a fairy amigurumi is a magical way to bring a touch of fantasy to your crochet work. With her delicate wings, green dress, and enchanted wand, this fairy amigurumi captures all the grace and beauty of legends and enchanted stories. She is perfect for decorating children’s rooms or gifting someone special.
Step-by-Step Guide to Making the Fairy Amigurumi
Once you finish your fairy amigurumi, you’ll have a unique and charming piece that will surely bring a smile to anyone who receives it. Whether for decoration or gifting, this crochet fairy will be an unforgettable item in any collection.
Detailed Recipe:
Materials Needed:
Crochet yarn in green, beige, yellow, and white
Crochet hook compatible with the yarn
Fiber stuffing
Safety eyes
Tapestry needle
Scissors
Metallic thread for the wings
Ribbon for the details
Step 1: Head and Body
With beige yarn, start the head with a magic ring and 6 single crochet stitches (sc) inside it.
Continue increasing to form a sphere.
Start the body with green yarn, creating a cylindrical shape connected to the head.
Step 2: Dress and Wings
With green yarn, crochet the dress, creating a light skirt with single and double crochet stitches.
For the wings, use white metallic thread, forming two delicate loops and sewing them to the back of the body.
Step 3: Arms, Legs, and Details
Make the arms and legs with beige yarn, creating small cylinders.
Use yellow yarn to make the hair, tying small strands and sewing them to the head.
Add a ribbon at the waist and create the magic wand with brown yarn and a small yellow star.
Step 4: Final Assembly
Sew the arms and legs to the body.
Stuff the amigurumi with fiber and close the bottom.
Add the safety eyes and finish with makeup details if desired.