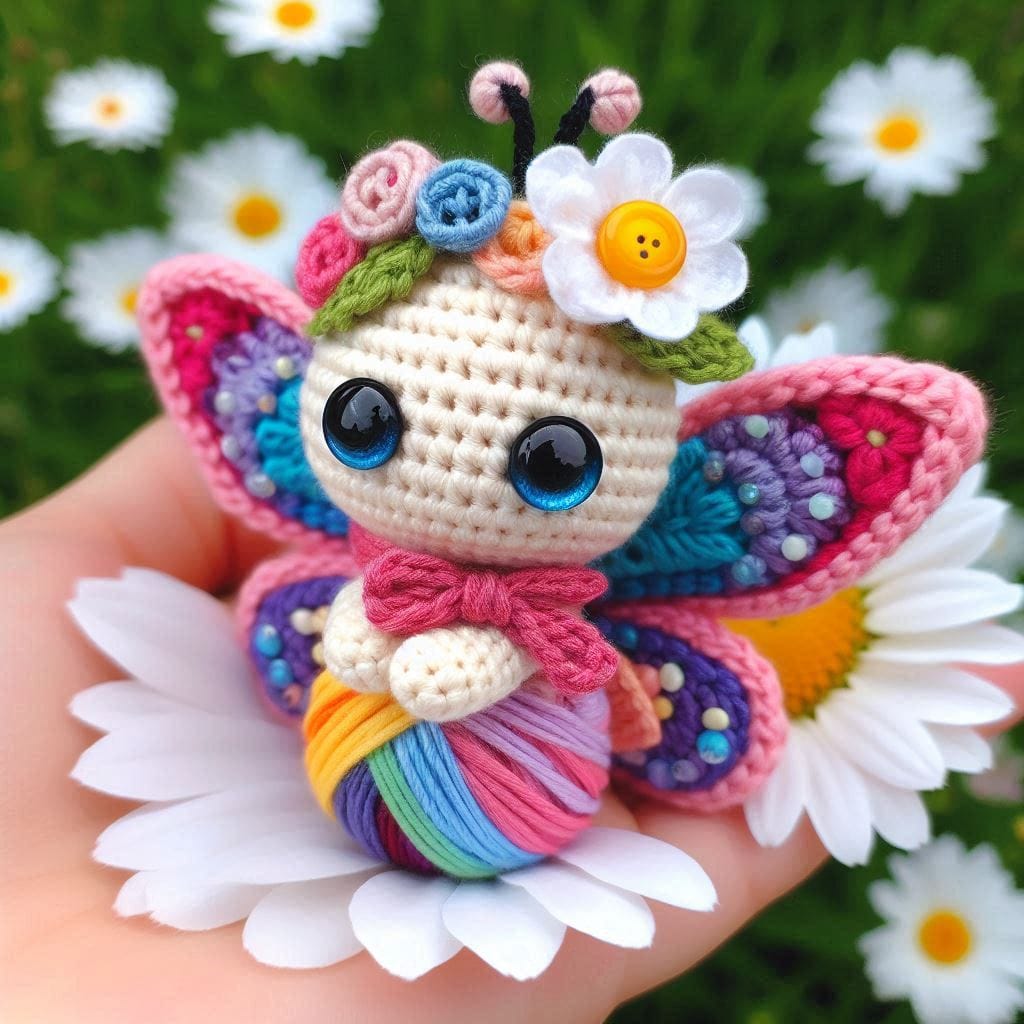
Creating the Amigurumi Butterfly Fairy involves several crochet techniques that highlight both basic and advanced skills, making this project suitable for intermediate crocheters. To begin, you will need to select soft cotton yarn in a variety of colors to achieve the fairy’s vibrant wings and body. The head and body are worked in continuous rounds using single crochet stitches, with careful increases and decreases to shape the fairy’s rounded features. The large, blue eyes are typically added with safety eyes or can be embroidered for a more personalized touch. For her whimsical wings, each section is crocheted separately in vivid colors and then sewn together, with added beads and embroidered accents to create texture and dimension.
Why Choose a Amigurumi Butterfly Fairy
The details are what truly bring this crochet piece to life. The floral crown and bow are crafted using small, tight stitches to create mini flowers and leaves, adding a delicate and intricate element to the fairy’s overall design. The antennae are made from a simple chain stitch, offering a playful finish to her head. To complete the project, you can stuff the body and wings with fiberfill to give the fairy a soft yet sturdy feel. This amigurumi project not only results in a charming, handmade toy but also provides an excellent opportunity to practice and refine your crochet skills, particularly in working with multiple colors and adding fine details.