The Amigurumi Little Witch Mary is a charming piece that combines the magic of crochet with a Halloween theme. Perfect for decorating your home or as a gift, this little witch features carefully crafted details like her pointed hat and decorative pumpkin, making it a fun project for crocheters of all levels.
As a passionate crocheter and lover of all things whimsical and magical, I couldn’t resist designing and stitching up this charming Amigurumi Little Witch Mary. She’s sweet, spooky, and absolutely spellbinding — the kind of little doll that makes your heart flutter the moment you sew on her tiny hat. If you’re like me and get giddy over tiny details and cute faces, you’re going to fall in love with Mary just as much as I did.
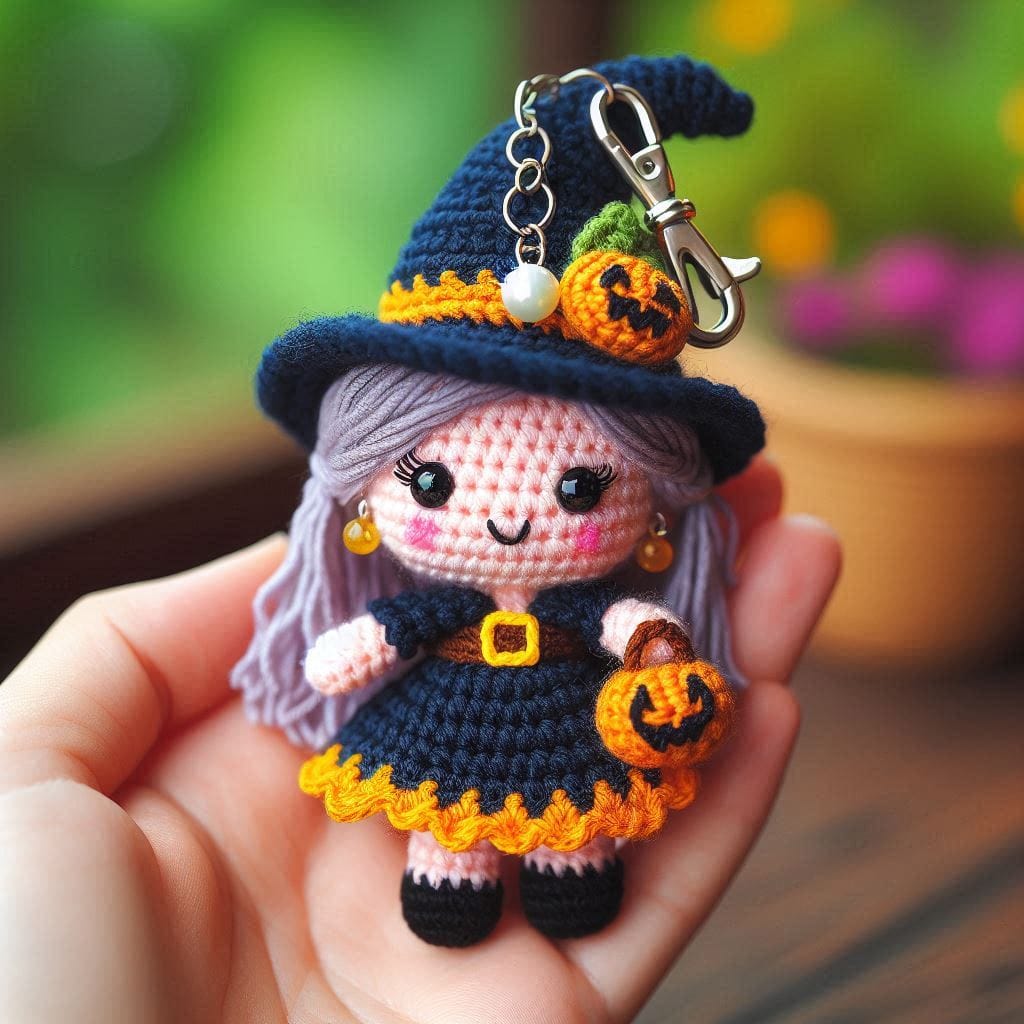
From the start, I wanted Mary to have that perfect “cute witch” vibe — not too scary, but full of charm and a little sparkle of mystery. She’s small enough to be a keychain or desk companion but packed with personality. Her oversized witch hat, braided hair, and pumpkin-inspired dress really bring her to life. Every stitch made me smile — and honestly, that’s why I crochet. There’s something so joyful about creating little characters with yarn and hook.
Yarns & Colors:
For Mary’s base, I used a soft beige cotton yarn for her face and limbs. I love how cotton holds the stitches nicely and gives amigurumi that neat, defined look. Her hair is made with caramel brown, perfect for fall vibes, and I added two little braids that peek out from under her hat — because, let’s face it, a witch with braids is instantly more adorable. The dress is a rich pumpkin orange, with lilac accents around the collar and hem. These little pops of color make her feel festive and Halloween-ready.
Step-by-Step Guide for Amigurumi Little Witch Mary
Creating Amigurumi Little Witch Mary involves combining crochet techniques with attention to detail to bring this unique character to life. The use of traditional Halloween colors, such as black and orange, along with accessories like the pumpkin, adds a special touch.
Mary’s hat might be my favorite part of the whole project. It’s tall, a little floppy, and stitched in deep purple. I added a tiny crocheted buckle on the front for detail — you could use a small button too! It sits just slightly tilted on her head, which gives her that playful, mischievous personality. You know, like she just flew in on her broomstick and is about to cast a pumpkin spice spell.
Amigurumi Little Witch Mary. Finishing Touches:
One of the reasons I love amigurumi so much is the finishing. After stitching the pieces together, I embroidered two black eyes and gave her a soft blush with a little pink pastel. I added a teeny-tiny crocheted broom to her hand, and voilà — Mary was ready to enchant the world!
This project was such a treat from start to finish. It’s beginner-friendly if you’ve got some experience with amigurumi shaping, but still fun and satisfying for more advanced crocheters. The pattern is worked mostly in single crochet, in the round, and the components are all small and manageable.
Tips from my Hook to Yours:
- Use stitch markers — her pieces are small, and it helps to keep track of where you are.
- Stuff her firmly, especially the hat, so it keeps its shape.
- When assembling, pin everything in place first so you get her expression just right.
- If gifting, try sewing a tiny loop on top to turn her into an ornament or charm.
Materials Needed:
- Crochet thread in black, orange, lilac, and white
- Crochet hook matching the thread thickness
- Synthetic fiber filling
- Safety eyes
- Tapestry needle
- Scissors
Detailed Instructions:
- Head and Body:
- Using lilac thread, start by making a magic ring with 6 single crochets.
- Increase in each stitch until you have 36 single crochets.
- Continue in single crochet until reaching the desired height for the head.
- Switch to black thread and continue crocheting to form the body, decreasing progressively until closed.
- Arms and Legs:
- Using black thread, make 6 single crochets in a magic ring.
- Increase to 12 stitches and continue in single crochet to form the arms and legs.
- Stuff with fiber filling before closing.
- Hat and Dress:
- For the hat, use black thread and start with a magic ring, increasing until you reach the desired diameter.
- Continue in single crochet to create the hat’s height, finishing with a wide brim.
- The dress is made with black thread, starting with a chain that fits around the doll’s waist and continuing with double crochets to add volume to the skirt.
- Pumpkin and Accessories:
- Using orange thread, make a small ball using single crochets and stuff with fiber.
- Use black thread to create the pumpkin’s face and sew it onto Little Witch Mary’s hand.
- Add other details like bows or flowers as desired.
- Assembly:
- Sew the arms and legs to the body, ensuring they are securely attached.
- Place the hat and adjust it to fit well.
- Finish by sewing the pumpkin and other accessories.
Amigurumi Little Witch Mary. Gift Idea & Display
Little Witch Mary makes a perfect Halloween gift or decoration. I plan on making a few more to hang from my autumn wreath and maybe gift one to my niece, who loves “tiny witchy things.” You can even personalize her with different dress colors, hair styles, or accessories — think mini potions, spell books, or even a black cat sidekick.
I believe every crocheter has a bit of magic in their fingers, and when we create something like Mary, we’re sharing that magic with the world. Whether you’re making her for yourself, for a spooky gift basket, or for your Halloween decor, this little witch is sure to charm her way into your heart.
Happy hooking, and may your yarn never tangle and your stitches be spellbinding!
Your Little Witch Mary is ready! Now, find the perfect spot to display her or wrap her up as a charming gift. This amigurumi is a great addition to your Halloween collection, bringing charm and creativity to the holiday.