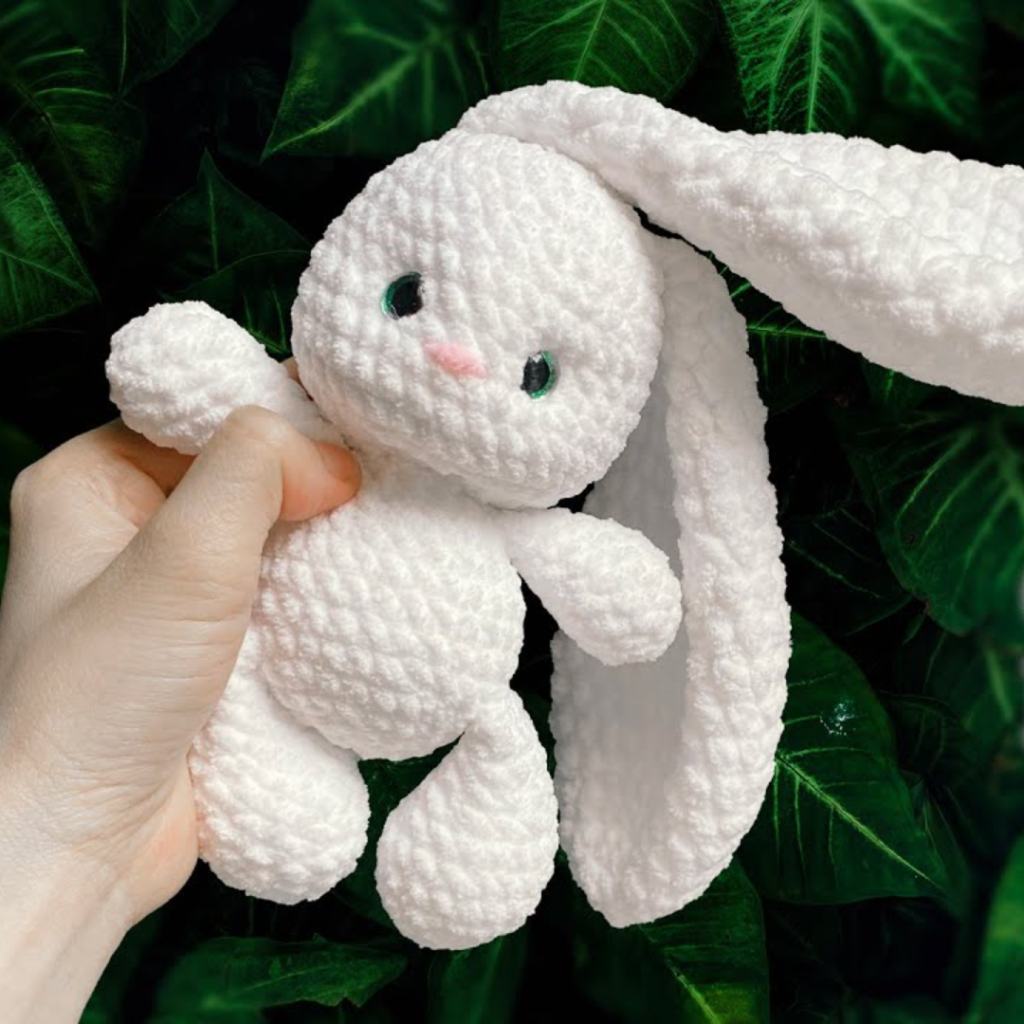
Celebrate Easter with this adorableCrochet Easter Bunny! This soft and cuddly bunny is the perfect handmade gift or decoration for the holiday season. Creating a crochet Easter bunny is one of those projects that feels like pure joy from the very first stitch, especially when you’ve spent years working with yarn and begin to appreciate how the simplest shapes can carry so much charm.
There’s something about this little bunny that captures the softness of the season, the lightness of spring, and that gentle, handmade warmth that makes crochet so special. Even now, after making countless amigurumi pieces, I still feel that quiet excitement as I begin shaping a new bunny, knowing it will slowly come to life in my hands.
I usually start with the body, working in continuous rounds to create a smooth and seamless form. For amigurumi, this technique is something I always rely on because it gives such a clean, polished finish. I use a smaller hook than recommended for the yarn, keeping my stitches tight and even so the stuffing stays neatly inside and the bunny holds its shape beautifully. As I work through the first few rounds, forming that rounded base, I focus on consistency. With a simple design like this, every stitch shows, so even tension makes all the difference.
How to Make a Crochet Easter Bunny
This beginner-friendly amigurumi project is fun and rewarding! With simple stitches and plush yarn, you can create a cute Easter bunny to gift or keep.
Now that you’ve made your own Crochet Easter Bunny, try experimenting with different colors and accessories to personalize your bunny. Happy crocheting!
The yarn choice is where the personality of the bunny begins to take shape. For Easter, I naturally lean toward soft pastel tones, shades like pale pink, baby blue, mint green, or a warm cream. These colors instantly give the bunny that delicate, springtime feel. Cotton yarn is often my first choice because it provides excellent structure and stitch definition, but I also enjoy using soft acrylic when I want a slightly fluffier, more cuddly finish. Each yarn creates a different character, and that’s part of what makes this project so enjoyable.
As the body grows, I begin shaping the head, either as part of the same piece or as a separate section that I’ll attach later. I tend to prefer a slightly larger head in proportion to the body, because it gives the bunny that sweet, endearing look. The shaping itself is simple, just careful increases and decreases, but I take my time to keep the curves smooth and balanced. It’s one of those moments where experience really helps, knowing exactly how much to increase or decrease to get that soft, rounded form.
Crochet Easter Bunny – Free Pattern
Stuffing is a step I always approach with patience. I add the filling little by little, gently shaping the bunny with my hands as I go. The goal is to create a piece that feels firm enough to hold its shape, but still soft and pleasant to touch. Overstuffing can distort the form, while too little can make it look flat, so finding that balance is something I’ve learned to do by feel over time.
The ears are what truly define the bunny, and they’re always my favorite part to make. I usually crochet them separately, creating long, soft shapes that can either stand upright or fall gently to the sides. Upright ears give the bunny a playful, alert expression, while slightly floppy ears make it feel softer and more relaxed. Sometimes I add an inner ear detail in a lighter shade, which adds a lovely touch of depth without complicating the design.
Placing the ears is something I never rush. I pin them in place first, adjusting their angle and spacing until everything feels balanced. Even the smallest change can alter the bunny’s expression, so I take a moment to step back and look at it from different angles before sewing them on securely. This is one of those details that really brings the piece to life.
The face is where all the character comes together, and I always keep it simple and gentle. Small eyes, either safety eyes or carefully embroidered, are placed with precision to create that soft, calm expression. A tiny nose, often stitched in pink, adds warmth, and sometimes I include a subtle mouth or a hint of whiskers. I’ve learned over the years that less is more when it comes to amigurumi faces. A few well-placed details can say so much.
Once all the parts are assembled, I take time to refine the shape. I gently adjust the stuffing if needed, smooth out the stitches, and make sure everything looks even and balanced. I also double-check that all pieces are securely attached, especially the ears, since they’re handled often.
Materials:
- Velvet or plush yarn in white (or any preferred color)
- 4.0mm crochet hook
- Black safety eyes (8mm)
- Embroidery thread for nose and mouth
- Yarn needle
- Fiberfill stuffing
- Scissors
Abbreviations (US Terms):
- MR = Magic Ring
- CH = Chain
- SC = Single Crochet
- INC = Increase (2 SC in the same stitch)
- DEC = Decrease (SC2TOG)
- SL ST = Slip Stitch
- FO = Fasten Off
Instructions:
Head:
- MR, 6 SC. (6)
- INC in each stitch around. (12)
- SC, INC repeat around. (18)
- SC 2, INC repeat around. (24)
- SC 3, INC repeat around. (30)
6-12. SC around. (30) - SC 3, DEC repeat around. (24)
- SC 2, DEC repeat around. (18)
- SC, DEC repeat around. (12)
- Stuff with fiberfill, DEC around. (6) FO and close.
Ears (Make 2):
- MR, 6 SC. (6)
- SC, INC repeat around. (9)
- SC 2, INC repeat around. (12)
4-10. SC around. FO, leaving a tail for sewing.
Body:
- MR, 6 SC. (6)
- INC in each stitch around. (12)
- SC, INC repeat around. (18)
- SC 2, INC repeat around. (24)
5-8. SC around. (24) - SC 2, DEC repeat around. (18)
- SC, DEC repeat around. (12)
- Stuff with fiberfill, DEC around. (6) FO and close.
Arms & Legs (Make 4):
- MR, 6 SC. (6)
- SC, INC repeat around. (9)
3-6. SC around. (9) FO, leaving a tail for sewing.
Assembly:
- Attach ears to the top of the head.
- Attach safety eyes and embroider the nose/mouth.
- Sew the head to the body.
- Attach arms and legs symmetrically.
Finishing is always done with care. I weave in all the ends neatly, making sure nothing is visible. I gently shape the bunny one last time, smoothing it with my hands and adjusting any small details. If I’ve used cotton yarn, I might lightly steam it from a distance to help the stitches settle and give it a polished look.
What I love most about creating a crochet Easter bunny is the feeling it carries. It’s soft, cheerful, and full of handmade warmth. It’s the kind of piece that doesn’t just decorate a space, but adds a sense of comfort and joy. It can sit in a basket, be part of a seasonal display, or be given as a thoughtful gift, and it always brings a smile.
After so many years of crocheting, I’ve come to truly value projects like this. They’re simple, but they allow you to focus on what really matters, the rhythm of the stitches, the balance of the shape, and the care in every detail. They remind me that crochet isn’t just about making something intricate, but about creating something meaningful.
In the end, this little Easter bunny becomes more than just yarn and stitches. It becomes a small expression of creativity and care, something made slowly and thoughtfully. And honestly, there’s something incredibly special about holding that finished bunny in your hands, soft and full of life, knowing it was created one stitch at a time.
Note: Here is a pattern suggestion for you to create your own pattern. The end result may vary.