A crochet baby hat is a must-have for newborns, keeping them warm and cozy. This simple and adorable pattern is perfect for beginners and quick to make! As an experienced crocheter, I always find myself drawn back to baby hats because they combine everything I love about crochet: simplicity, purpose, and the opportunity to add delicate, thoughtful details. There’s something incredibly special about working on a piece meant to keep a little one warm and comfortable, and that intention naturally brings a sense of care into every stitch.
The first thing I always consider when starting a crochet baby hat is the yarn. This choice is absolutely essential, because baby skin is so delicate. I typically reach for soft cotton or a high-quality acrylic blend that’s specifically designed for baby items. These yarns are gentle, breathable, and easy to care for, which is important for everyday use. I avoid anything too scratchy or heavy, and I’m mindful of fibers that might irritate sensitive skin. The texture should feel smooth and comforting, something you’d trust against a newborn’s head.
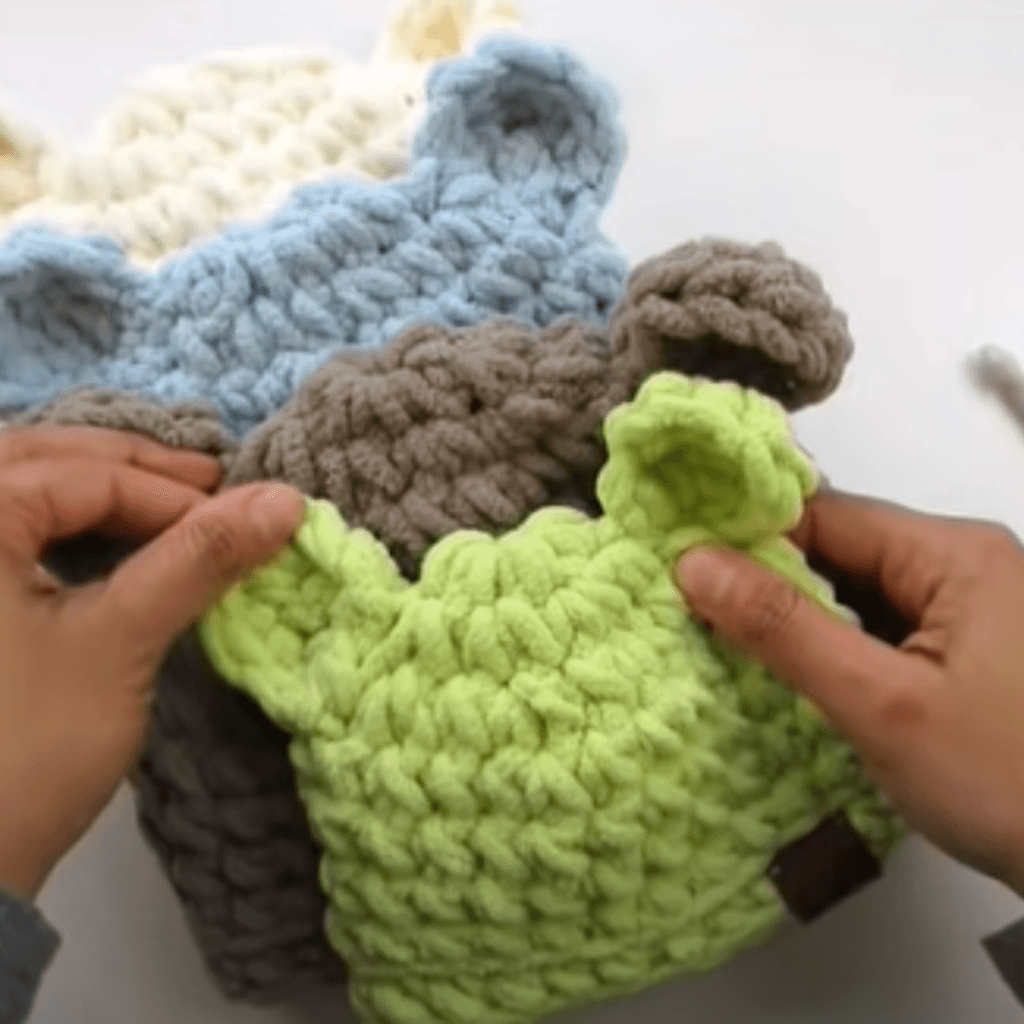
Color selection is another part I truly enjoy. Soft pastels like baby blue, blush pink, mint green, and creamy neutrals are always beautiful choices, giving the hat a timeless and soothing look. Sometimes I like to incorporate subtle color changes or gentle stripes to add interest without overwhelming the design. The beauty of a baby hat is that even the simplest color palette can look elegant when paired with clean, even stitches.
How to Make a Crochet Baby Hat
This crochet baby hat is soft, stretchy, and customizable in different sizes and colors. Whether you’re making it for a baby shower gift or your little one, this project is both practical and charming. Creating a crochet baby hat is a rewarding project that makes a thoughtful gift. With just a few stitches, you can craft a warm and stylish accessory for any baby!
Hook size plays a key role in achieving the right fabric. For baby hats, I usually follow the recommended hook size for the yarn, sometimes adjusting slightly depending on the tension I want. The goal is to create a fabric that is soft and flexible, but not too loose. A hat that’s too tight can feel stiff, while one that’s too loose may not provide enough warmth. Finding that balance is something that comes with experience, and it’s one of those small details that makes a big difference in the final piece.
Detailed Recipe: Crochet Baby Hat
The construction typically begins at the crown, worked in continuous rounds to create a smooth, rounded shape. This is where I settle into a steady rhythm, focusing on even increases and consistent tension. Watching the crown expand evenly is always satisfying, and it sets the foundation for the entire hat. I take care to count my stitches and check the shape as I go, ensuring that it remains symmetrical and well-formed.
Once the crown reaches the desired size, the sides of the hat begin to form naturally as I continue working without increases. This is one of the most relaxing parts of the process. The repetitive motion allows you to simply enjoy the rhythm of crocheting, and the hat starts to take on its final shape. I often take this moment to think about any details I might want to add, whether it’s a textured stitch pattern, a simple ribbed edge, or a decorative element.
The brim is another important feature, both functionally and aesthetically. A well-crafted brim helps the hat stay in place and adds a finished look to the design. I often use stitches that provide a bit of stretch, such as working in the back loop only or incorporating post stitches. These techniques create a snug yet comfortable fit, which is essential for baby items.
Adding small details is one of my favorite parts of making a crochet baby hat. A simple bow, a tiny flower, or even a pair of soft ears can transform the hat into something truly special. I always keep these embellishments gentle and secure, making sure they’re appropriate for a baby. Sometimes, less is more, and a clean, classic design can be just as beautiful as one with added decorations.
What I love most about creating a crochet baby hat is the feeling behind it. It’s a project that carries warmth, not just in the physical sense, but in the care and intention that goes into making it. Whether it’s for your own child, a gift, or even a donation, there’s a quiet satisfaction in knowing you’ve created something that will be worn and appreciated.
Materials:
- Soft baby yarn (DK or worsted weight)
- Crochet hook (4mm or 5mm)
- Scissors
- Yarn needle
Abbreviations (US Terms):
- CH = Chain
- SC = Single Crochet
- HDC = Half Double Crochet
- DC = Double Crochet
- SL ST = Slip Stitch
- INC = Increase
- FO = Fasten Off
Instructions:
Hat Base (Worked in Rounds):
- Round 1: Magic ring, CH 2 (counts as first DC), 9 DC into the ring. Join with SL ST. (10 DC)
- Round 2: CH 2, 2 DC in each stitch around. Join. (20 DC)
- Round 3: CH 2, DC in next stitch, 2 DC in next stitch, repeat around. Join. (30 DC)
- Round 4: CH 2, DC in next 2 stitches, 2 DC in next stitch, repeat around. Join. (40 DC)
- Round 5: CH 2, DC in next 3 stitches, 2 DC in next stitch, repeat around. Join. (50 DC)
Body of the Hat:
6. Rounds 6-10: CH 2, DC in each stitch around. Join.
Finishing:
7. Last Round: CH 1, SC in each stitch around for a neat edge. Join and FO.
8. Weave in loose ends and add optional embellishments like a pom-pom or bow.
Even after years of crocheting, baby hats remain one of my favorite projects. They’re quick enough to be satisfying, yet detailed enough to keep you engaged. Each one feels unique, shaped by your choices in yarn, color, and technique.
In the end, creating a Crochet Baby Hat is about more than just making a small accessory. It’s about slowing down, focusing on the details, and putting care into every stitch. It’s about creating something soft, functional, and meaningful. And when you hold the finished hat in your hands, there’s that familiar sense of accomplishment, knowing you’ve made something special with your own skill and attention.